
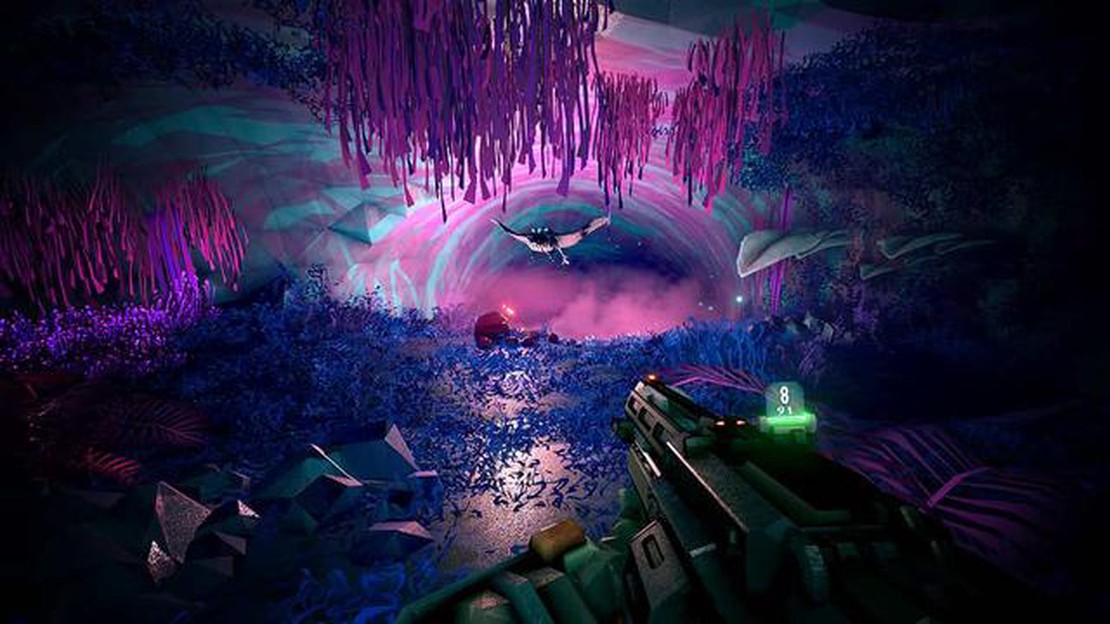

Discover the Different Beer Types and Their Effects in Deep Rock Galactic
Every beer type and effect in Deep Rock Galactic In the world of Deep Rock Galactic, a popular co-op game, players take on the role of fearless space …
Read Article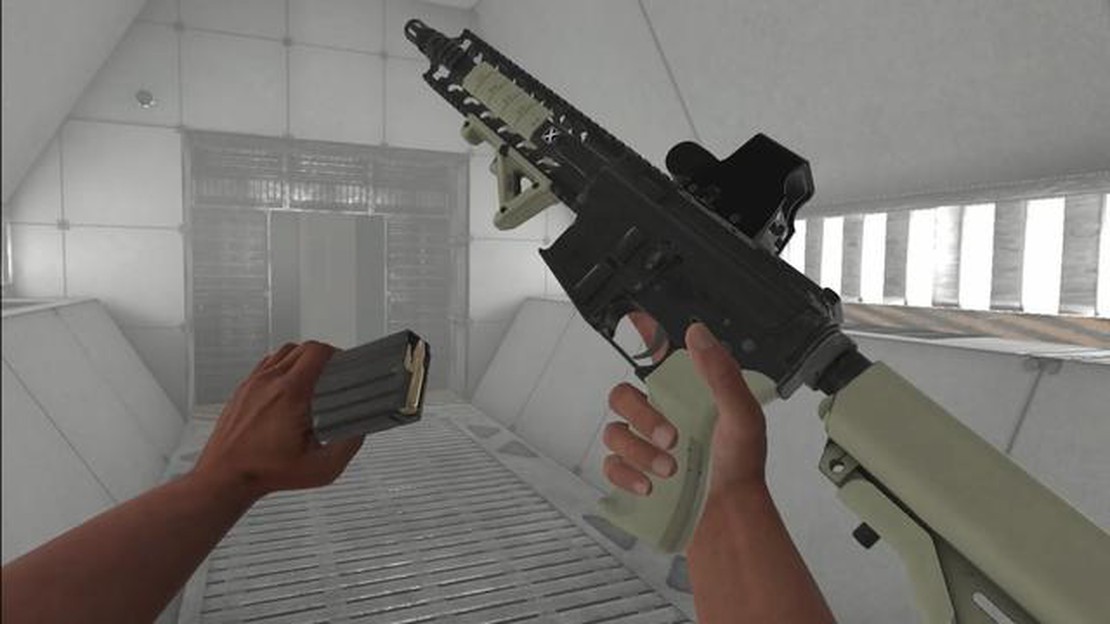
Bonelab is a popular virtual reality game that allows players to explore and interact with a variety of immersive worlds. One of the things that sets Bonelab apart from other VR games is its support for mods, which are user-created modifications that can enhance the gameplay experience.
If you’re interested in installing mods for Bonelab, this step-by-step guide will walk you through the process. Whether you’re looking for new levels, weapons, or other customized features, mods can provide a whole new level of excitement and challenge to the game.
Before you begin, it’s important to note that modding requires some technical knowledge and may void your warranty or violate the terms of service for Bonelab. Therefore, proceed with caution and only install mods from trusted sources. Now, let’s get started!
The first step in setting up mods for Bonelab is to install a mod manager. A mod manager is a tool that helps you organize and install mods for your game. There are several mod managers to choose from, but one popular option is Nexus Mod Manager.
To install Nexus Mod Manager, visit the official website and download the latest version. Once the download is complete, open the installer and follow the on-screen instructions to complete the installation process.
With your mod manager installed, you can now begin searching for mods to enhance your Bonelab experience. There are many modding communities and websites where you can find a wide range of mods, such as Nexus Mods or Mod DB.
Browse through the available mods and choose the ones that appeal to you. Make sure to read the descriptions and reviews to ensure compatibility and quality. Once you’ve found a mod you’d like to install, click the download button and save the file to your computer.
Now that you have your mods downloaded, it’s time to install them using the mod manager. Open the mod manager and navigate to the “Mods” or “Install” section. Here, you should see an option to add a new mod.
Click the “Add Mod” or “Install Mod” button and select the mod file you downloaded earlier. The mod manager will then extract the files and install the mod into your Bonelab game directory.
Once the mod is installed, you can enable or disable it as needed. Open the mod manager and navigate to the “Mods” or “Manage” section. Here, you should see a list of all the mods you’ve installed.
To enable a mod, simply check the box next to its name. To disable a mod, uncheck the box. Be sure to carefully manage your mods, as conflicts between different mods can cause issues or crashes in the game.
And that’s it! You’ve successfully set up mods for Bonelab. Now, launch the game and enjoy the new features and content that mods have to offer. Happy gaming!
If you want to enhance your Bonelab experience, installing mods is a great way to add new features, items, or mechanics to the game. Follow this step-by-step guide to easily set up mods for Bonelab:
Read Also: Grounded Guide Wiki: Characters, Crafting, Combat, Unlocks, and More
That’s it! You have successfully set up mods for Bonelab. Enjoy exploring the new features and content added by the mods you installed.
Mods are user-created modifications or customizations that can enhance your gaming experience in Bonelab. Here are the steps to find and download mods for Bonelab:
Read Also: All Amiibo rewards in Splatoon 3 – All compatible Amiibo
Remember to periodically check for updates or newer versions of your installed mods, as mod creators often release updates or fixes to improve compatibility or add new features.
If you want to enhance your Bonelab gaming experience, you can install mods to add new features, improve visuals, or introduce gameplay changes. Here is a step-by-step guide on how to install mods for Bonelab:
Remember to regularly check for updates for your installed mods and remove any conflicting mods that may cause issues with your game. Have fun exploring the new possibilities and features that mods can bring to Bonelab!
When it comes to enhancing your Bonelab experience, mods are a great way to add new features and content. In this guide, we will walk you through the process of activating mods in Bonelab.
Remember that not all mods are created equal, and some mods may conflict with each other or cause compatibility issues. It’s always a good idea to carefully read the mod descriptions and check for any known conflicts or compatibility requirements before installing mods.
By following these steps, you can easily activate mods in Bonelab and enhance your VR experience with new features and content. Have fun exploring the world of Bonelab mods!
Bonelab is a software program that allows users to interactively explore 3D anatomical models of the human skeleton.
Setting up mods for Bonelab allows users to enhance the software’s functionality, customize the user interface, and add new features to improve the overall experience.
To install Bonelab, you can visit the official website and download the software. Follow the installation instructions provided and launch Bonelab once the installation is complete.
Mods, short for modifications, are user-created add-ons that can be installed and used with software programs to modify or enhance their features and functionality.
You can find mods for Bonelab by visiting online modding communities and forums dedicated to the software. These communities often provide download links and instructions on how to install the mods.
To install mods for Bonelab, you will first need to download the mod files from a trusted source. Once downloaded, locate the mod folder in the Bonelab installation directory and place the mod files inside it. Launch Bonelab and navigate to the mod manager to enable and use the installed mods.
Every beer type and effect in Deep Rock Galactic In the world of Deep Rock Galactic, a popular co-op game, players take on the role of fearless space …
Read Article
Skyrim’s best bow mods Are you an archery enthusiast in Skyrim? Do you strive to be the best bowman in all of Tamriel? Look no further! We have …
Read Article
How to unlock the Duality Dungeon in Destiny 2 Destiny 2 players have been eagerly awaiting the release of the Duality Dungeon, a new activity that …
Read Article
How to fix a stuck character in World of Warcraft In the vast and immersive world of World of Warcraft, players can encounter various bugs and …
Read Article
How Many Chapters Does Triangle Strategy Have? Find Out Here If you’re a fan of tactical RPGs, you’ve probably heard about Triangle Strategy. This …
Read Article
How to get Soot Black Dye in Final Fantasy XIV Soot Black Dye is a highly sought-after item in Final Fantasy XIV that allows players to color their …
Read Article


