


Step-by-Step Guide: Evolving Wiglett into Wugtrio in Pokémon Scarlet and Violet
How to evolve Wiglett into Wugtrio in Pokémon Scarlet and Violet If you’re playing Pokémon Scarlet and Violet and you have a Wiglett that you want to …
Read Article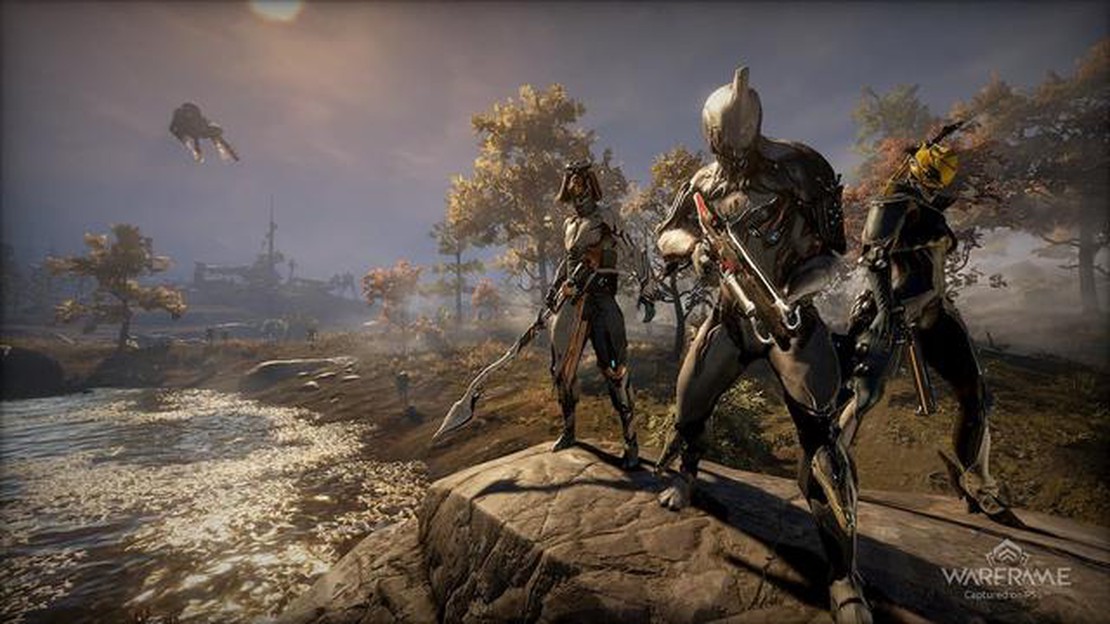
If you’re a veteran player of Warframe or just starting out, you may have heard about the powerful and sought-after weapon known as the Ambassador. This unique sniper rifle is capable of dealing massive damage to enemies and is a favorite among players who enjoy long-range combat. However, obtaining the Ambassador can be quite challenging and requires completing specific missions and tasks. In this comprehensive guide, we’ll walk you through the steps you need to take to get your hands on this formidable weapon.
Firstly, it’s important to note that the Ambassador can only be obtained through the game’s Arbitrations missions. Arbitrations are high-level endgame missions that offer unique rewards, including exclusive mods, cosmetics, and weapons like the Ambassador. To access Arbitrations, you need to have completed The Second Dream and The War Within quests. Once you’ve completed these quests, you can access Arbitrations through the Arbiters of Hexis syndicate, located in any Relay.
Once you’re ready to tackle Arbitrations, you’ll need to gather a squad of capable players. These missions can be quite challenging, so it’s recommended to team up with experienced players who have powerful weapons and Warframes. Communication is key in Arbitrations, so make sure to coordinate with your team and plan your strategies before entering the mission.
To obtain the Ambassador, you’ll need to earn Vitus Essence, which is a special currency obtained by completing Arbitrations missions. Vitus Essence can be used to purchase various rewards from the Arbiters of Hexis syndicate, including the Ambassador blueprint. Keep in mind that the cost of the Ambassador blueprint is quite high, so you’ll need to complete several Arbitrations missions to accumulate enough Vitus Essence.
Once you have enough Vitus Essence, head to the Arbiters of Hexis syndicate in any Relay and browse their offerings. You should be able to find the Ambassador blueprint listed there. Purchase the blueprint using your accumulated Vitus Essence, and it will be added to your inventory. From here, you can start crafting the Ambassador in your Foundry, using the required resources and credits.
In conclusion, obtaining the Ambassador in Warframe requires completing specific missions and earning Vitus Essence through Arbitrations. It’s a challenging task that will test your skills and teamwork, but the reward is a powerful sniper rifle that can decimate enemies from a distance. So gather your squad, strategize, and embark on the journey to obtain the Ambassador – one of the most coveted weapons in Warframe.
If you’re looking to add one of the most powerful secondary weapons to your arsenal in Warframe, then the Ambassador is definitely a weapon worth acquiring. This Step-by-Step Guide will walk you through the process of unlocking the Ambassador in Warframe.
Following these steps will allow you to successfully unlock the Ambassador in Warframe. Good luck, Tenno!
Before attempting to get the Ambassador in Warframe, there are a few requirements and preparations you need to consider:
Once you have met all the requirements and made the necessary preparations, you’re ready to challenge the Ambassador in Warframe. Good luck, Tenno!
The Hidden Messages Quest is an important quest in Warframe that allows players to obtain the blueprint for the Mirage Warframe. To start this quest, players must first complete the Mars Junction on Earth. Once the Mars Junction is unlocked, players can access the Hidden Messages Quest from the Codex.
Step 1: Investigate the Assassination Attempt
Step 2: Find the Hidden Messages
Step 3: Obtain the Chassis, Neuroptics, and Systems Blueprints
Read Also: Get the Calfskin Rider’s Leather Biker Outfit in Final Fantasy XIV: Step-by-Step Guide
Step 4: Build the Warframe
| Resource | Quantity |
|---|---|
| Alloy Plate | 150 |
| Morphics | 1 |
| Neural Sensors | 1 |
| Polymer Bundle | 500 |
Read Also: Best Titan Builds for PvP and PvE in Destiny 2: Dominating the Crucible and Conquering Raids
By following these steps, players can successfully complete the Hidden Messages Quest and obtain the Mirage Warframe blueprint. The Mirage Warframe has unique abilities and can be a valuable addition to any player’s arsenal in Warframe.
To craft the Ambassador, you will need several materials and blueprints. This section will provide you with a comprehensive list of the required resources.
There are two blueprints required to craft the Ambassador:
In addition to the blueprints, you will need the following resources to craft the Ambassador:
| Resource | Quantity |
|---|---|
| Ferrite | 700 |
| Morphics | 10 |
| Plastids | 350 |
| Alloy Plate | 450 |
| Rubedo | 200 |
These resources can be obtained by completing missions, opening containers, or by mining and fishing in specific locations within the game.
Once you have gathered all the required blueprints and resources, you can begin crafting the Ambassador in your Foundry. The crafting process takes 12 hours to complete. Once the crafting is finished, you will have the Ambassador weapon ready to use in your arsenal!
Gathering resources is an essential part of progressing in Warframe. Here are some tips to help you gather resources efficiently:
In addition to these tips, it’s important to manage your resources effectively. Keep track of the resources you need and prioritize which ones to farm first. Warframe’s market also offers resources for sale, so if you’re having trouble finding a specific resource, you can consider buying it.
Warframe is a popular free-to-play online action role-playing video game developed and published by Digital Extremes. It was first released for Microsoft Windows in 2013 and has since been ported to other platforms including PlayStation 4, Xbox One, and Nintendo Switch. In the game, players control members of the Tenno, a race of ancient warriors who have awoken from centuries of cryosleep to find themselves at war with different factions. Players take on the role of a Tenno warrior, equipped with a unique exoskeleton called a Warframe, and engage in various missions, quests, and battles throughout the game’s expansive universe.
An Ambassador in Warframe refers to a special type of enemy known as an “Ambulas.” Ambulas is a robotic boss enemy that players can encounter in the game. It is heavily armored and equipped with powerful weapons, making it a formidable opponent. Defeating an Ambulas is a challenging task, but it can drop rare resources and rewards upon defeat.
To obtain an Ambassador in Warframe, you need to participate in the event known as “Ambulas Reborn.” During this event, players must complete a series of missions and objectives to weaken and ultimately defeat the Ambulas boss. The event usually has different stages and requires coordination with other players. Once the event is successfully completed, players will have a chance to obtain the Ambulas blueprint, which can be used to craft the Ambassador in the game.
Defeating an Ambulas in Warframe can yield several rewards. The most notable reward is the Ambulas blueprint, which can be used to craft the Ambassador Warframe. Additionally, players have a chance to obtain other rare resources, such as mods, credits, and possibly even rare event-exclusive items. It’s worth noting that the drop rates for these rewards may vary, and players may need to defeat multiple Ambulas enemies to obtain all the desired rewards.
How to evolve Wiglett into Wugtrio in Pokémon Scarlet and Violet If you’re playing Pokémon Scarlet and Violet and you have a Wiglett that you want to …
Read Article
Who is Agent 3 in Splatoon 3? Explained In the upcoming game Splatoon 3, one of the most anticipated characters is Agent 3. This mysterious character …
Read Article
How to fast travel (finally) in Outward Outward, the open-world RPG developed by Nine Dots Studio, offers players a vast and immersive world to …
Read Article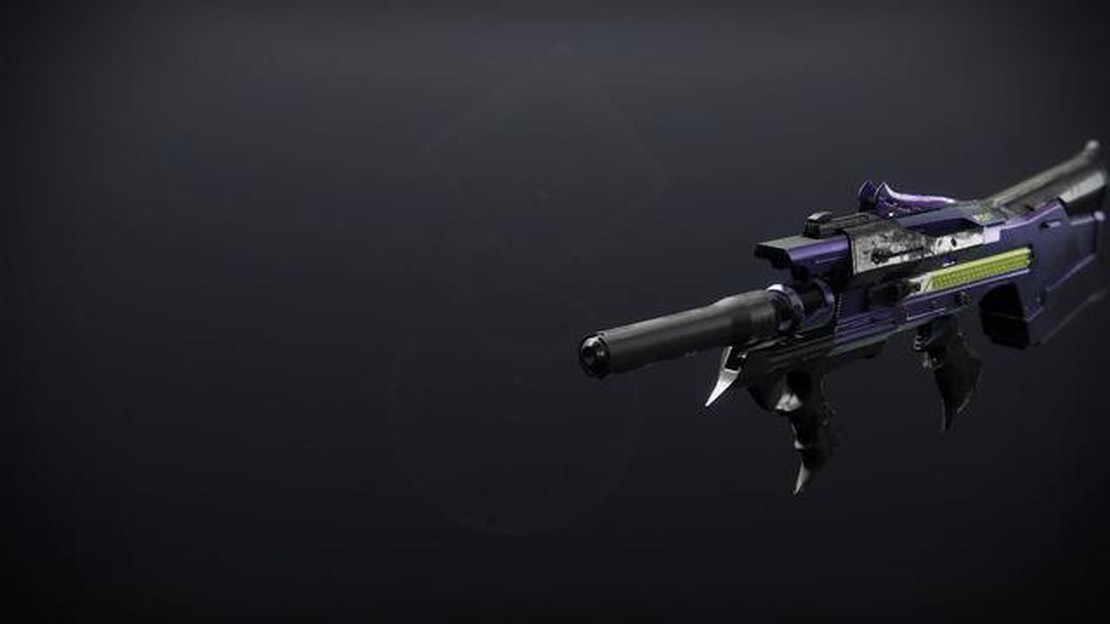
Destiny 2 Krait god roll guide – PvP and PvE Are you struggling to find the perfect weapon for your Destiny 2 PvP and PvE activities? Look no further, …
Read Article
Where to find Pincurchin in Pokémon Scarlet and Violet In the newly released Pokémon Scarlet and Violet games, players are on the hunt for new and …
Read Article
Best Pokemon Counters and Weaknesses of Cliff in June 2023 in Pokemon Go In Pokemon Go, Cliff is one of the leaders of Team Go Rocket, and players …
Read Article


