

Where to Catch Barboach in Pokémon Scarlet and Violet
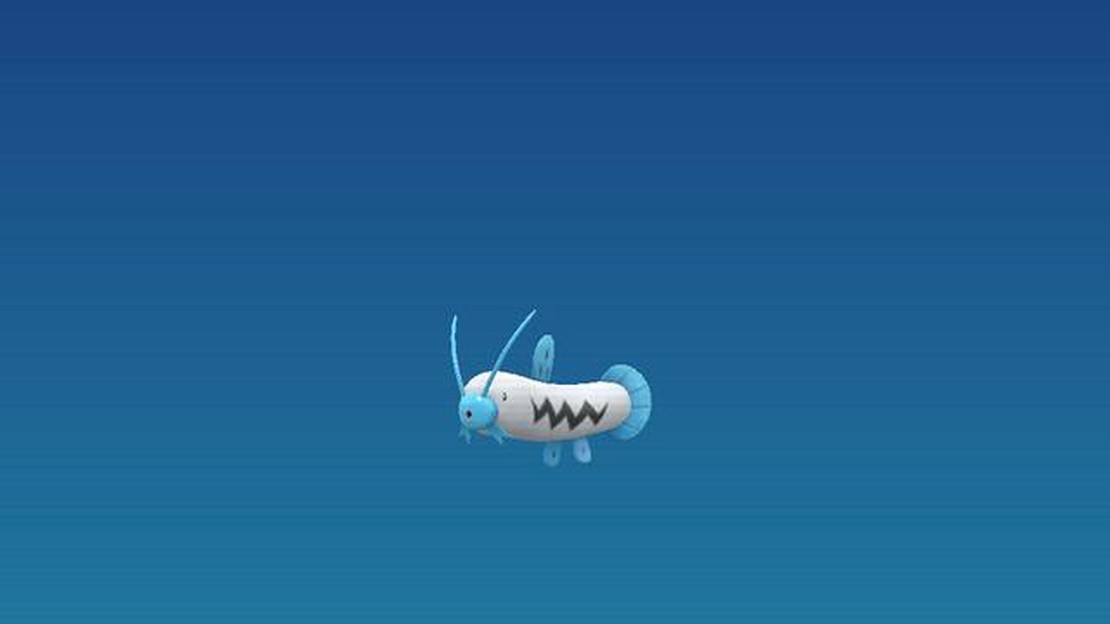
Where to find Barboach in Pokémon Scarlet and Violet Barboach is a water and ground type Pokémon that first appeared in the third generation of …
Read Article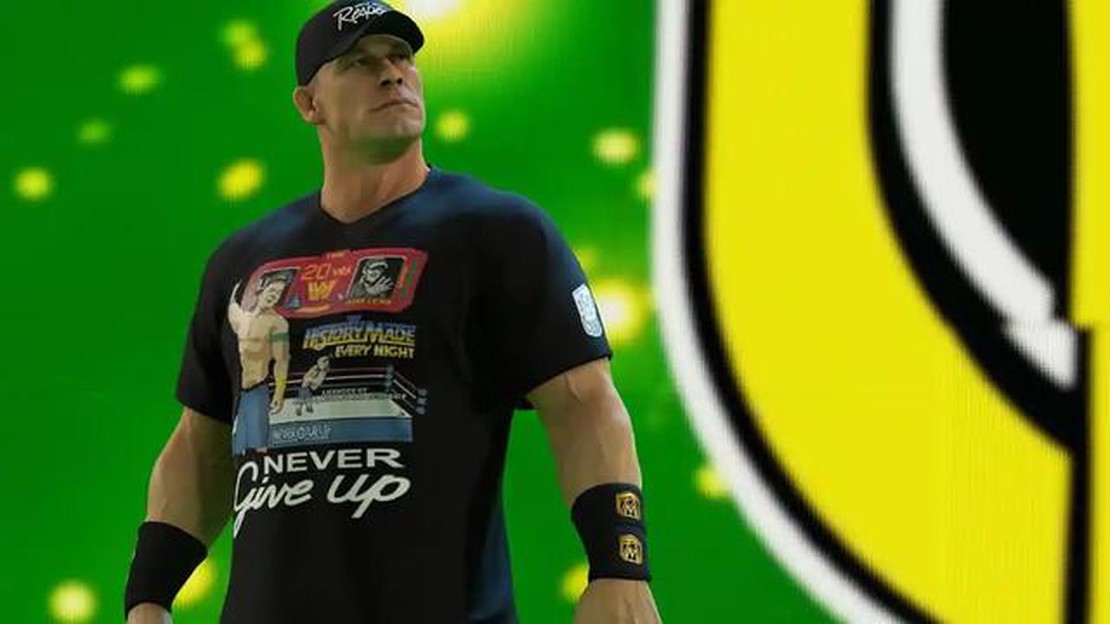
In WWE 2K23, players have the ability to customize their gaming experience by uploading custom images and renders to enhance their gameplay. Whether you want to create a personalized wrestler or add your own unique touch to the game, this step-by-step guide will walk you through the process of uploading custom images and renders in WWE 2K23.
Step 1: Prepare Your Images
Before you can upload custom images and renders to WWE 2K23, you need to make sure they meet the game’s requirements. The recommended size for custom images is 512x512 pixels, while renders should be 1024x1024 pixels. Additionally, images and renders should be saved in a compatible file format, such as JPEG or PNG. This will ensure that your custom content looks its best in the game.
Step 2: Access the Customization Menu
Once you’ve prepared your images, launch WWE 2K23 and navigate to the customization menu. This can usually be found in the main menu or in the game’s options. Once you’re in the customization menu, look for the option to upload custom images or renders. This may be listed as “Import Images” or something similar.
Step 3: Select the Images and Renders
After accessing the upload menu, you’ll be prompted to select the images and renders you want to upload. Use the game’s file browser to locate the files you prepared in Step 1. Select the images and renders you want to upload and confirm your selection. The game will then begin the process of importing your custom content.
Step 4: Customize Your Wrestler
Once the game has finished importing your custom images and renders, you can start customizing your wrestler. Go to the wrestler customization menu and look for the options to apply custom images and renders. Select the specific parts of your wrestler that you want to customize and choose the corresponding custom image or render. You can resize, rotate, and position the image to your liking for the perfect look.
Step 5: Save and Enjoy
After you’ve finished customizing your wrestler with your own custom images and renders, make sure to save your progress. This will ensure that your changes are applied and can be seen in your gameplay. Once saved, you’re ready to enjoy WWE 2K23 with your personalized images and renders, adding a unique touch to your gaming experience.
Read Also: Learn how to obtain the Falcon Ignition Key in Final Fantasy XIV
With the ability to upload custom images and renders, WWE 2K23 provides players with a new level of personalization and creativity. Whether you want to recreate your favorite wrestlers or introduce entirely original characters, this step-by-step guide will help you navigate the process smoothly. So grab your custom images and renders, follow these steps, and get ready to make your mark in the world of WWE 2K23!
Customizing your WWE 2K23 experience by uploading custom images and renders can add a personal touch to the game. Here is a step-by-step guide on how to upload your own custom images and renders in WWE 2K23.
Remember, it’s essential to adhere to the game’s terms of service and guidelines regarding the type of images or renders you can upload. Avoid using copyrighted material or any content that may be deemed offensive or inappropriate.
By following these simple steps, you can enhance your WWE 2K23 experience by incorporating your own custom images and renders into the game.
To begin uploading custom images and renders in WWE 2K23, you’ll need to access the customization menu within the game. Follow these steps:
It’s important to note that the exact navigation and terminology may vary depending on the version of the game you are playing, so refer to your game’s instruction manual or in-game help for specific details.
Read Also: How Long Does Mead Fermentation Take in Valheim? - A Guide
Once you have launched WWE 2K23 and entered the “Create a Superstar” mode, follow these steps to select the “Upload Image” option:
By following these steps, you will reach the point where you can start uploading custom images and renders to use in WWE 2K23.
Once you’ve selected the custom image or render you want to use in WWE 2K23, it’s time to upload and edit it before it can be applied to your character or arena.
Once the image is uploaded, you may need to adjust and edit it to fit the proportions and requirements of WWE 2K23. Here are some steps you may need to take:
It’s important to note that WWE 2K23 may have specific guidelines and restrictions when it comes to uploading custom images. Be sure to follow any instructions provided by the game or consult the user manual for more information.
Yes, you can upload custom images and renders in WWE 2K23. However, there are some restrictions and guidelines you need to follow. The images should be in a specific format, such as JPEG or PNG, and they should not contain any explicit or offensive content.
To upload custom images and renders in WWE 2K23, you need to go to the customization menu in the game. There, you can select the option to upload an image or render from your device. Follow the on-screen instructions to choose the file and confirm the upload.
Yes, there are size and resolution restrictions for custom images in WWE 2K23. The recommended size for images is 512x512 pixels, and the recommended resolution is 72 DPI. Keep in mind that larger images or images with higher resolutions may take longer to upload and may affect the performance of the game.
Yes, you can use custom images and renders in most game modes in WWE 2K23. However, some game modes may have certain restrictions or limitations when it comes to using custom content. It’s always a good idea to check the specific rules and guidelines for each game mode before using custom images and renders.
Where to find Barboach in Pokémon Scarlet and Violet Barboach is a water and ground type Pokémon that first appeared in the third generation of …
Read Article
How to get RELL coins fast in Roblox Shindo Life Roblox Shindo Life is a popular game on the Roblox platform that allows players to explore a vast …
Read Article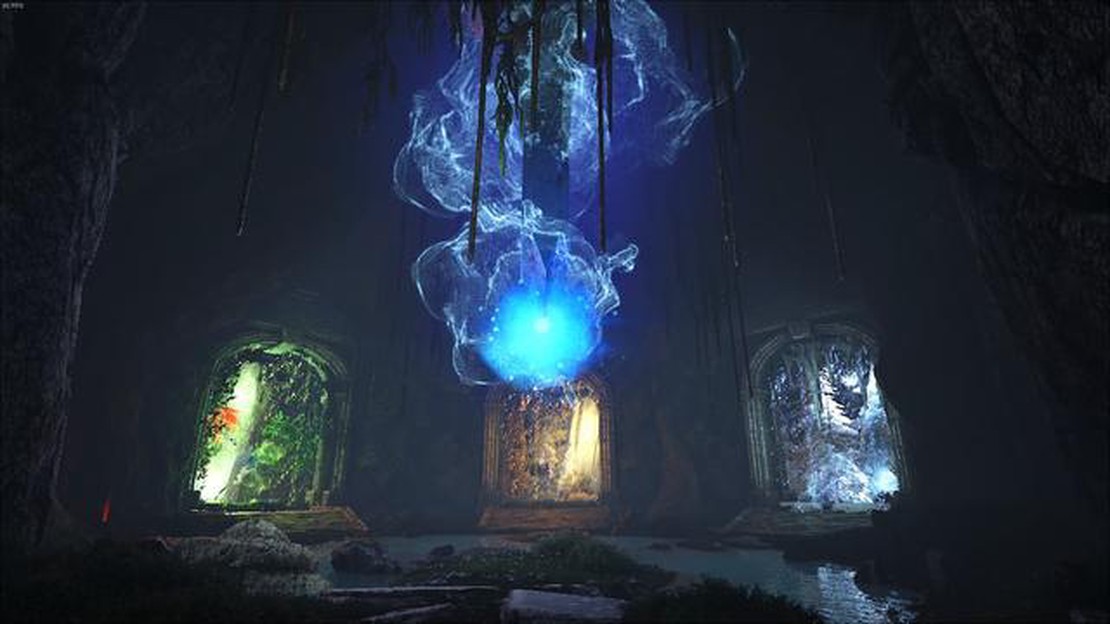
What are Runestones and how to get them in Ark: Survival Evolved Fjordur Ark: Survival Evolved Fjordur is the latest expansion in the popular survival …
Read Article
Where to get a Totemic Moondrop in Wytchwood The mystical world of Wytchwood is known for its enchanting landscapes and ancient secrets. Nestled deep …
Read Article
Genshin Impact Temari Quest Guide: Unlocking the Temari Game and Mastering its Challenges Genshin Impact, the popular action role-playing game …
Read Article
How to get to the Bank of Adal 2nd story office in Call of Duty: Warzone 2.0 DMZ Call of Duty: Warzone 2.0 DMZ introduces new locations and challenges …
Read Article


