

Where to Locate Your Screenshots in Genshin Impact
Where to find your screenshots in Genshin Impact Genshin Impact is a popular action role-playing game developed by miHoYo. With its breathtaking open …
Read Article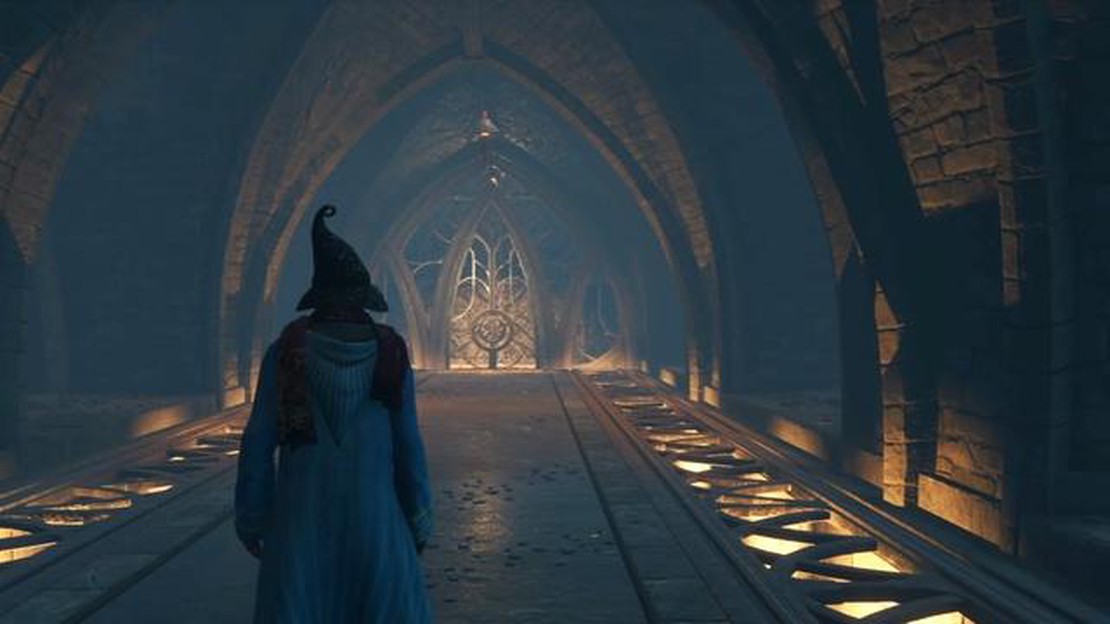
In Hogwarts Legacy, players will encounter various challenging puzzle rooms that require their wit and skills to overcome. One such puzzle room is the Depulso Puzzle Room 1, which can prove to be quite tricky if approached without a proper strategy. This guide will provide a step-by-step walkthrough to help you conquer this puzzle room and move forward in your magical journey.
The Depulso Puzzle Room 1 is filled with enchanted platforms and moving obstacles that you must navigate through using the Depulso spell. This spell allows you to push objects and clear a path for yourself. To begin, stand on the starting platform and survey the room to understand its layout.
First, take note of the obstacles in the room and identify any patterns that they follow. Some obstacles may move in a specific direction, while others may rotate or change their position periodically. This information will be crucial in planning your movements and timing your spells.
Once you have assessed the room, it’s time to start casting the Depulso spell. Aim your wand at an obstacle and cast the spell by saying “Depulso” while performing the correct wand movement. This will push the obstacle in the desired direction. Be careful not to let any obstacles hit you, as they may knock you off the platform and force you to start over.
The Depulso Puzzle Room 1 is the first puzzle room you will encounter in Hogwarts Legacy. It is a magical room filled with enchanted objects and obstacles that you must overcome using the Depulso spell. This puzzle room is designed to test your spellcasting skills and problem-solving abilities.
As you enter the room, you will find multiple platforms and floating objects. Your goal is to use the Depulso spell to push the objects onto the correct platforms in order to progress through the room. The Depulso spell can be cast by aiming your wand and pressing the designated button.
Each object in the room has a different symbol or color associated with it. These symbols or colors correspond to specific platforms in the room. You will need to match the objects with the correct platforms based on their symbols or colors.
To solve the puzzle, you will need to carefully observe the objects and platforms, and determine the correct combinations. Some objects may need to be pushed onto multiple platforms, while others may need to be grouped together. Pay attention to the hints and clues scattered throughout the room to aid you in your puzzle-solving journey.
It’s important to note that the Depulso spell has limited range, so you may need to maneuver yourself around the room to get a better angle for casting the spell. Experiment with different angles and positions to successfully push the objects onto the platforms.
Completing the Depulso Puzzle Room 1 will reward you with valuable experience points and possible loot. It is also a great opportunity to practice and improve your spellcasting skills. Good luck on your puzzle-solving adventure in Hogwarts Legacy!
When you enter Depulso Puzzle Room 1 in Hogwarts Legacy, you will be faced with a complex puzzle that you must solve to progress further. Understanding the puzzle is key to finding the right solution. Here are the steps to understanding the puzzle:
Read Also: Complete the Long Drop treasure hunt in Far Cry 6: A guide to finding all the hidden loot
By following these steps, you will have a better grasp of the puzzle and be well-equipped to find the solution. Remember to take your time and think critically. Keep trying different strategies until you find the correct solution.
When you first enter the Depulso Puzzle Room 1 in Hogwarts Legacy, you’ll notice a series of symbols and patterns on the walls. In order to successfully complete the puzzle and progress further in the game, you’ll need to identify and understand these symbols and patterns.
The symbols and patterns in the Depulso Puzzle Room are designed to test your observational skills and logical thinking. Each symbol represents a unique action that you need to take in order to solve the puzzle. The patterns, on the other hand, indicate the correct sequence in which these actions should be performed.
Here are some tips to help you identify and interpret the symbols and patterns:
By carefully examining the symbols and patterns in the Depulso Puzzle Room, you’ll be able to decode their meaning and successfully solve the puzzle. Remember to approach the puzzle with patience and persistence, as it may take some time to fully understand and interpret the symbols and patterns.
Once you have identified the symbols and patterns, you can proceed to the next step of the puzzle, which involves implementing the actions indicated by the symbols in the correct sequence. Good luck!
Read Also: Warframe Sister of Parvos guide – how to generate, find, and kill
Now that you have successfully entered the Depulso Puzzle Room 1, it’s time to solve the puzzle and progress further. Here is a step-by-step guide on how to do it:
Following these steps should help you navigate through the Depulso Puzzle Room 1 and advance in Hogwarts Legacy. Good luck!
When you enter the Depulso Puzzle Room 1 in Hogwarts Legacy, you will notice a series of symbols on the walls. These symbols need to be activated in a specific order to proceed further in the room. To activate the symbols, you will need to cast the Depulso spell on them. Follow the steps below to use the Depulso spell correctly and activate the symbols:
Remember, it is crucial to activate the symbols in the correct order. If you activate the symbols out of sequence, they will reset, and you will have to start over. Pay close attention to the highlighted symbols to ensure you activate them in the right order.
Using the Depulso spell to activate the correct symbols requires focus, timing, and precision. Keep practicing the wand motion and observe the symbol patterns carefully. With patience and persistence, you will master the Depulso Puzzle Room 1 and progress in your Hogwarts Legacy adventure.
Steps to Using the Depulso Spell:
| Step | Action | | 1 | Approach the symbols on the wall | | 2 | Observe the highlighted symbols and their order | | 3 | Equip your wand and prepare to cast the Depulso spell | | 4 | Stand in front of the first symbol | | 5 | Perform the wand motion for Depulso | | 6 | If successful, the symbol will light up | | 7 | Move on to the next symbol and repeat steps 4 to 6 | | 8 | Activate all symbols in the correct order | | 9 | Unlock the door and progress to the next area |
To complete Puzzle Room 1 in Hogwarts Legacy, you need to solve a series of puzzles and challenges. First, make sure to collect all the orbs scattered around the room. Then, use those orbs to activate the pressure plates and open the doors. The puzzles involve matching symbols, arranging blocks, and solving riddles. Pay attention to the clues scattered throughout the room and think logically to solve each puzzle.
The orbs in Puzzle Room 1 are used to activate the pressure plates and open the doors. Each pressure plate requires a certain number of orbs to activate. You need to collect all the orbs in the room and strategically place them on the pressure plates. Look for clues or hints to determine the correct placement of the orbs.
Yes, there are specific symbols that you should be looking for in Puzzle Room 1. These symbols are part of the puzzles and challenges that you need to solve. The symbols may be scattered around the room or displayed on blocks or objects. Pay close attention to the symbols and try to match them or arrange them in a specific order to progress in the puzzle.
To find clues to solve the puzzles in Puzzle Room 1, carefully explore the room and interact with different objects. Look for books, scrolls, paintings, or any other items that may contain clues or hints. Pay attention to any writings or drawings on the walls or objects. Sometimes, the clues may be hidden or require solving a smaller puzzle to reveal. Use your observation skills and think creatively to uncover the necessary clues.
If you activate the pressure plates in the wrong order in Puzzle Room 1, the doors may not open, and you will need to reset the puzzle. Make sure to pay attention to any clues or hints that indicate the correct order of the pressure plates. If you activate the plates in the correct order, the doors will open, allowing you to progress to the next part of the puzzle.
No, you do not need any specific spells or abilities to complete Puzzle Room 1 in Hogwarts Legacy. The puzzles and challenges can be solved using logic, observation skills, and critical thinking. While having specific spells or abilities may make the puzzles easier or provide additional hints, they are not necessary for completing the room. Focus on the available clues and use your problem-solving skills to overcome the challenges.
There is no specific time limit to complete Puzzle Room 1 in Hogwarts Legacy. You can take your time to explore the room, solve the puzzles, and progress at your own pace. However, it’s always a good idea to solve the puzzles efficiently to save time and ensure a smooth progression. If you are struggling with a particular puzzle, take a break and come back to it with a fresh mind. Remember, it’s all about enjoying the challenge and figuring out the solutions.
Where to find your screenshots in Genshin Impact Genshin Impact is a popular action role-playing game developed by miHoYo. With its breathtaking open …
Read Article
Where to find the Amethyst Shard Exchange Merchant in Lost Ark Lost Ark is an action-packed adventure game that takes players on a journey through a …
Read Article
Pokémon Go: Best teams for the Great League – June 2023 The Great League in Pokémon Go is a popular PvP format that allows trainers to compete with …
Read Article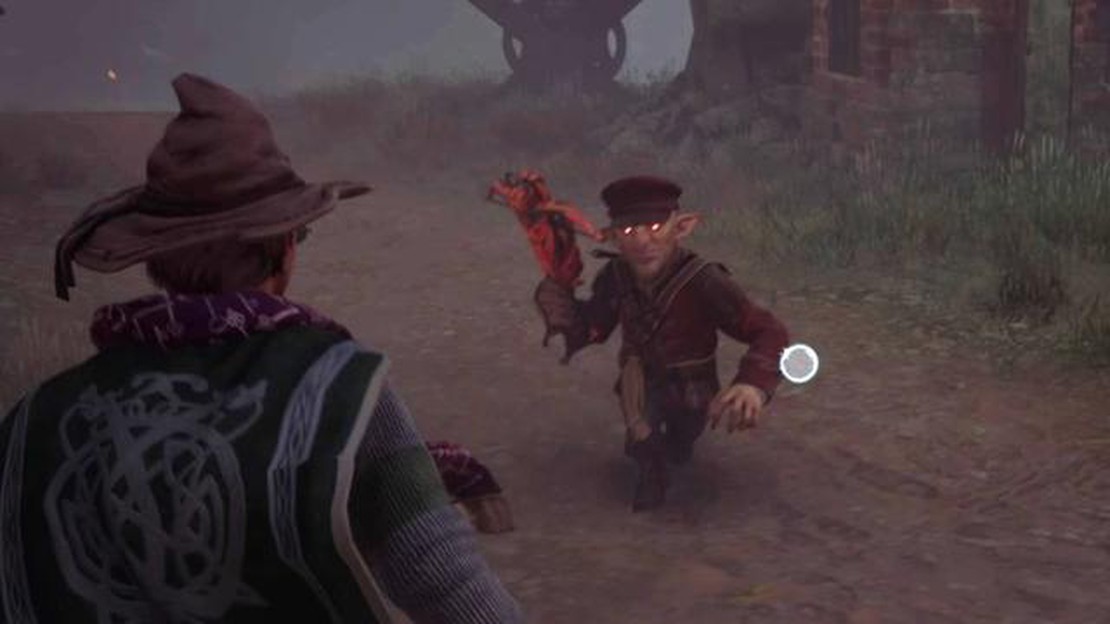
How to steal a Loyalist Ranger’s crossbow bolt in Hogwarts Legacy In the magical world of Hogwarts Legacy, players will encounter a variety of …
Read Article
How to complete the Oryx Challenge in King’s Fall Raid in Destiny 2 The Oryx Challenge in the King’s Fall raid in Destiny 2 is one of the most …
Read Article
Is Rec Room cross platform/crossplay? Rec Room is a popular virtual reality social platform that allows players to create and share their own worlds, …
Read Article


