

Step-by-Step Guide: Making Mushroom Bricks in Grounded - The Ultimate Tutorial
How to make mushroom bricks in Grounded Are you ready to take your building skills in Grounded to the next level? Look no further! In this ultimate …
Read Article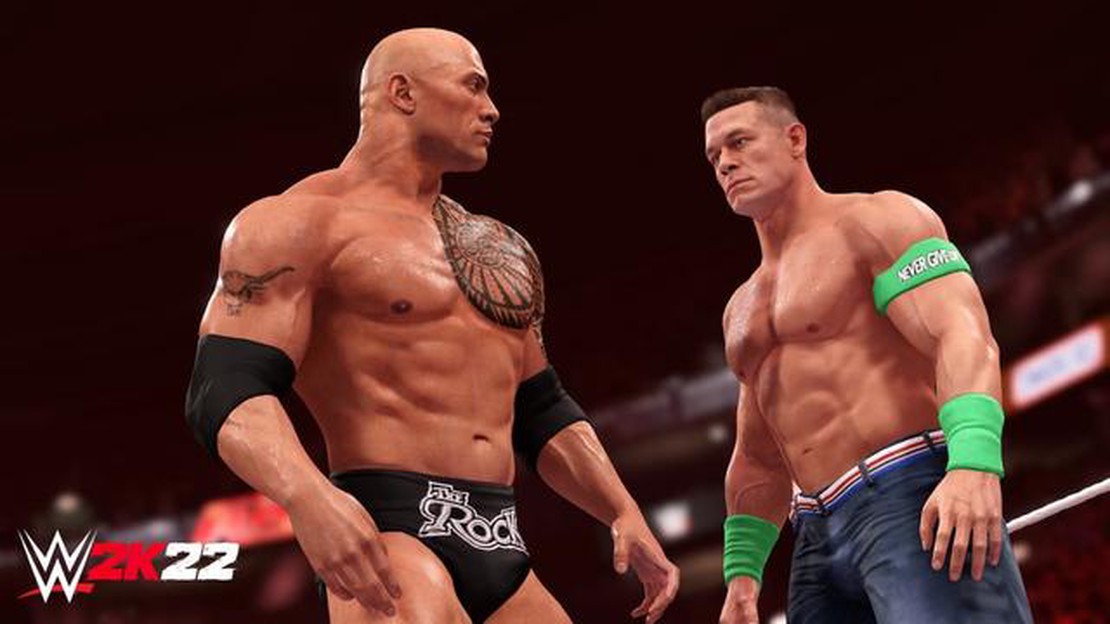
WWE 2K22 is a highly anticipated game that allows players to create their own custom wrestlers and compete in the ring. One of the exciting features of the game is the ability to upload custom images and renders to enhance the personalization of your created wrestlers. Whether you want to add your own face to your wrestler or create unique logos and designs, this step-by-step guide will walk you through the process of uploading custom images in WWE 2K22.
Step 1: Prepare your images
The first step in uploading custom images and renders in WWE 2K22 is to ensure that you have the necessary images ready. This can include your own photographs or designs that you want to apply to your wrestlers. It is important to note that there are certain limitations and restrictions when it comes to image uploads, such as file size and format requirements. Make sure to review the game’s guidelines and requirements before proceeding.
Step 2: Access the image upload feature
Once you have prepared your images, you can now access the image upload feature in WWE 2K22. This can typically be found in the creation menu of the game, where you can customize your wrestlers. Look for the option that allows you to upload custom images or renders.
Step 3: Upload and customize your images
After accessing the image upload feature, you can now proceed to upload and customize your images in WWE 2K22. Follow the on-screen prompts to select the images you want to upload from your device. Once uploaded, you may have the option to resize, position, and adjust the images to fit your wrestler’s appearance. Take your time to fine-tune the placement and size of the custom images to ensure the best possible result.
Step 4: Save and apply the changes
Once you are satisfied with the customization of your images, make sure to save and apply the changes in WWE 2K22. This will ensure that your custom images are properly applied to your created wrestlers. Take a moment to review the changes, and if everything looks good, proceed to save the modifications.
Step 5: Enjoy your personalized wrestlers
With your custom images and renders successfully uploaded and applied in WWE 2K22, you can now enjoy your personalized wrestlers in the game. Take them to the ring and showcase your unique creations to your opponents and friends. Have fun exploring the many possibilities of customization that this feature offers.
Remember, always follow the guidelines and requirements set by the game developers when uploading custom images in WWE 2K22. Respect copyright laws and avoid using inappropriate or offensive content. Enjoy the creative process and unleash your imagination in creating the ultimate personalized wrestlers.
In WWE 2K22, players have the ability to upload custom images and renders to enhance their gaming experience. Whether you want to create a custom wrestler or add personalized logos and designs to the game, follow these step-by-step instructions to upload your own images in WWE 2K22:
By following these simple steps, you can easily upload custom images and renders in WWE 2K22 and personalize your gameplay experience. Get creative and have fun customizing your favorite wrestlers and the game environment!
Before you can upload your custom images and renders in WWE 2K22, you need to make sure they meet the game’s specifications and are properly prepared. Here are some steps to prepare your custom images and renders:
Read Also: Where to Find Drowzee in Pokémon Scarlet and Violet - Tips and Locations
By following these steps, you’ll be well-prepared to upload your custom images and renders in WWE 2K22. Remember to double-check the game’s specifications and requirements to ensure your images meet the necessary criteria. With your custom images and renders ready, you can now move on to the next steps of the uploading process.
In WWE 2K22, players have the ability to upload their own custom images and renders to personalize their gameplay experience. This feature allows players to create unique avatars, logos, and promotional materials for use within the game. Here is a step-by-step guide on how to upload custom images and renders in WWE 2K22:
Read Also: Step-by-step guide on evolving Eelektrik into Eelektross in Pokémon Scarlet and Violet
By following these steps, you can easily upload custom images and renders in WWE 2K22 and enhance your gameplay experience with personalized content. Enjoy creating unique avatars and promotional materials that reflect your individual style and personality!
Uploading custom images and renders in WWE 2K22 is a simple process. First, go to the “Creation Suite” option in the main menu of the game. Then, select the “Image Uploader” option. From there, you can choose whether you want to upload an image or a render. If you choose to upload an image, you can select it from your device’s gallery or use a URL to import it. If you choose to upload a render, you can create the render in a software like Photoshop and save it as an image file before uploading it to the game. Once you have selected and uploaded your custom image or render, it will be available for use in the game.
While WWE 2K22 does allow players to upload custom images and renders, there are some restrictions on the types of images that can be used. The game has a content filter in place to ensure that inappropriate or offensive images are not uploaded. Additionally, the image or render must be in a compatible file format such as JPEG or PNG. It is also important to note that any copyright or intellectual property laws should be respected when uploading custom images or renders.
Yes, there is a size limit for custom images and renders in WWE 2K22. The exact size limit may vary depending on the platform you are playing on, but generally, the maximum file size allowed is around 5MB. It is important to keep this in mind when creating or selecting images or renders to upload to the game. If an image or render exceeds the size limit, you may need to resize or compress it before uploading it to WWE 2K22.
Yes, custom images and renders can be used in most modes of WWE 2K22. However, there may be some restrictions in certain modes, such as online multiplayer modes, to maintain fairness and prevent abuse. It is always a good idea to check the specific rules and regulations of each mode to ensure that custom images and renders are allowed. In general, though, you should be able to use your custom images and renders in most of the game’s modes, including the single-player career mode and the create-a-wrestler mode.
When creating custom renders in WWE 2K22, there are a few guidelines and recommendations to keep in mind. First, it is important to use a software like Photoshop to create high-quality renders that are clear and detailed. The render should be saved as an image file in a compatible format, such as JPEG or PNG, before uploading it to the game. It is also recommended to use a resolution of at least 1280x720 pixels for the best results. Additionally, consider the composition and framing of the render to ensure that it fits well within the game’s interface and looks visually appealing.
How to make mushroom bricks in Grounded Are you ready to take your building skills in Grounded to the next level? Look no further! In this ultimate …
Read Article
How to get Pet Kemono Seeds in Wild Hearts If you’re a fan of the adorable pet creatures known as Kemonos in the hit game Wild Hearts, then you’re …
Read Article
What level does Sprigatito evolve in Pokemon Scarlet and Violet? Answered Pokemon Scarlet and Violet have introduced a new generation of adorable and …
Read Article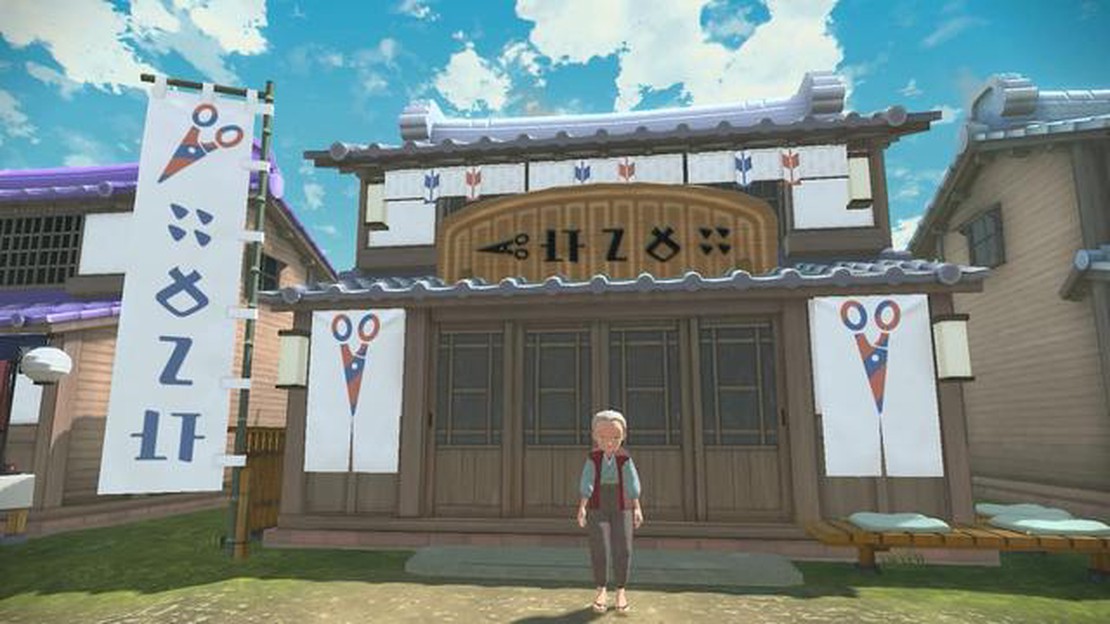
Step-by-Step Guide: Evolving Onix into Steelix in Pokémon Legends: Arceus Pokémon Legends: Arceus is a highly anticipated game that explores the …
Read Article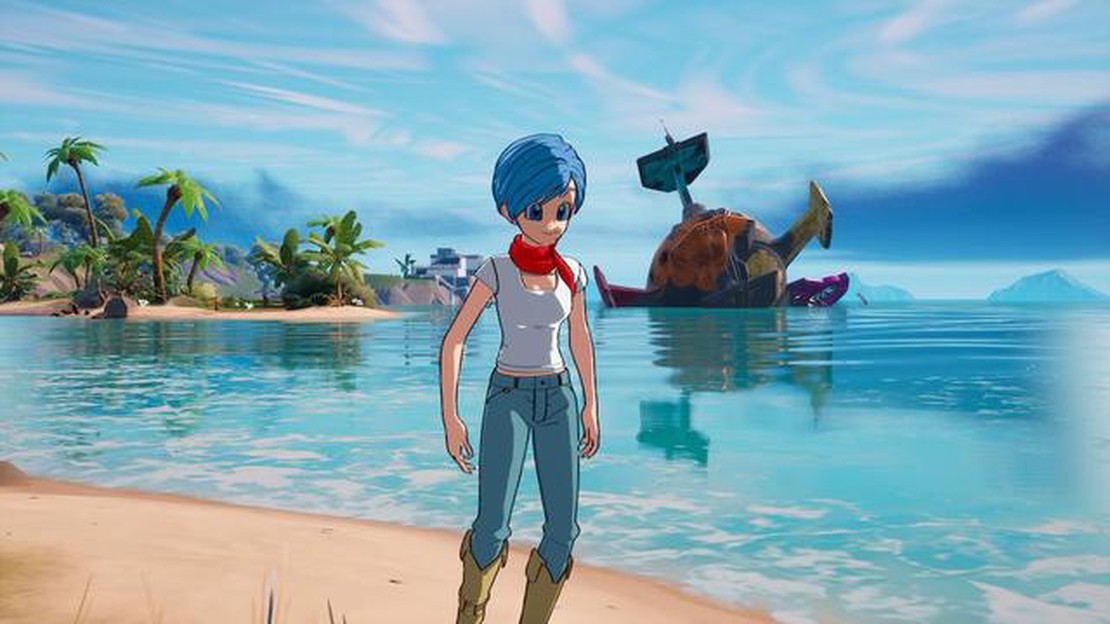
Where to find Bulma and Kame House in Fortnite Chapter 3 Season 3 Fortnite Chapter 3 Season 3 has introduced a plethora of new content and …
Read Article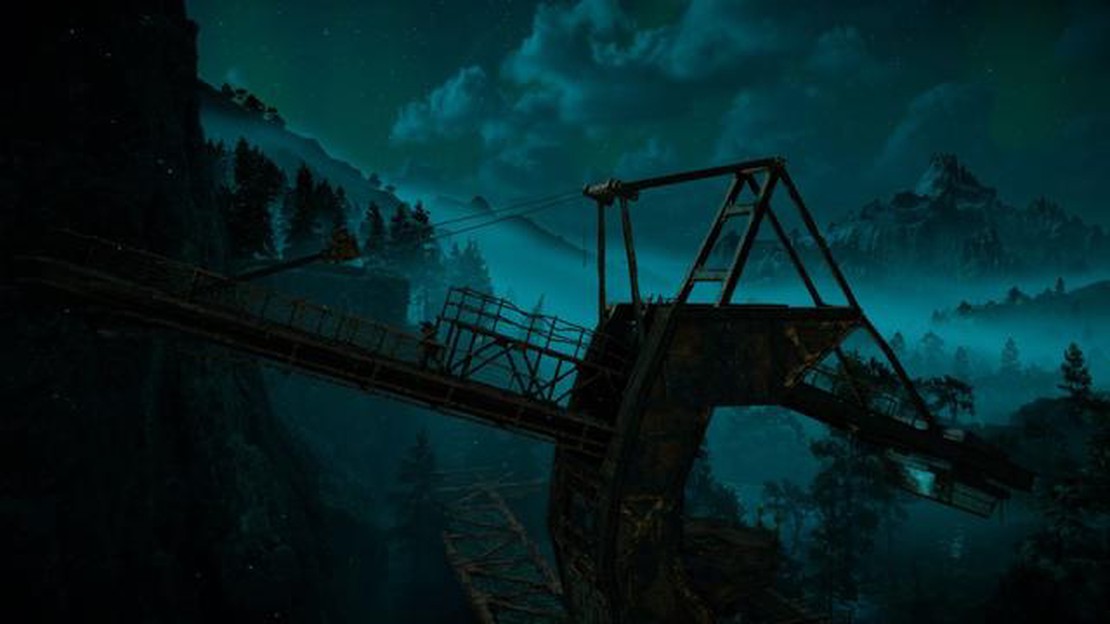
How to complete The Deluge side quest in Horizon Forbidden West Welcome to our guide on how to complete The Deluge side quest in Horizon Forbidden …
Read Article


