


How to land the Water Slide Tester job in BitLife
How to get the Water Slide Tester job in BitLife If you’ve ever dreamed of getting paid to ride water slides all day, then becoming a Water Slide …
Read Article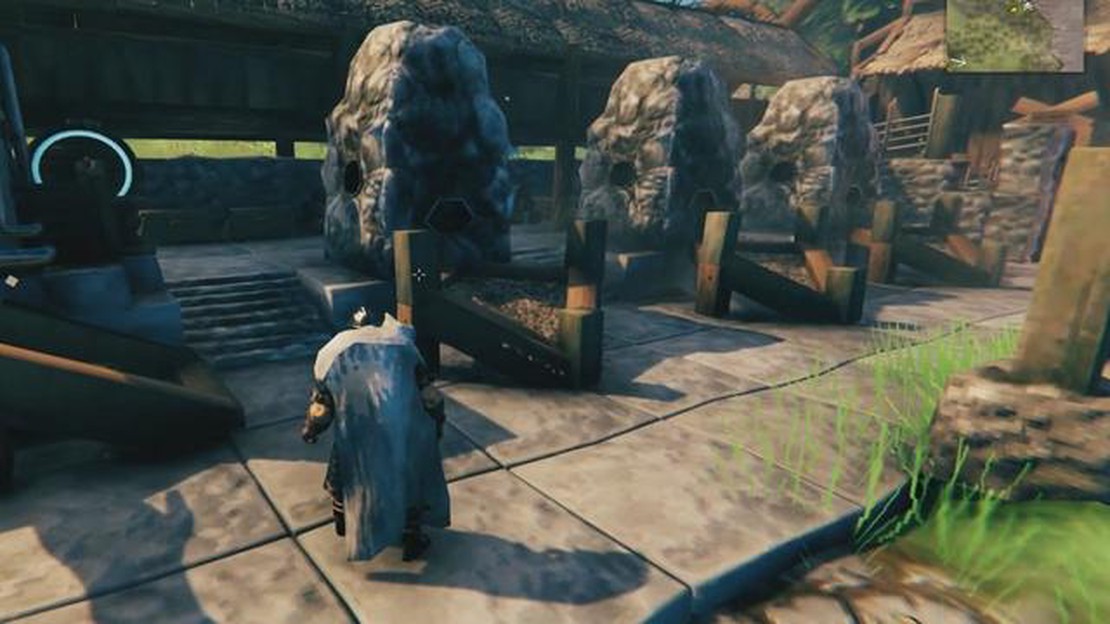
In the popular survival game Valheim, one of the key elements of progress and resource management is the ability to craft various tools and equipment. One essential structure that players need to build is a smelter, which allows them to melt down ore into valuable ingots for crafting.
To create a smelter in Valheim, players will need to gather specific resources and follow a step-by-step process. This guide will walk you through the necessary steps to build a smelter and start refining your ores.
Step 1: Collect the Required Resources
First, players need to gather the necessary resources to build a smelter. These include:
Note: Resources can be found in the game world by exploring and mining various nodes.
Step 2: Craft the Smelter
Once you have gathered the required resources, head to a workbench, which is where crafting takes place in Valheim. Open the crafting menu and navigate to the “Building” tab. Look for the smelter icon, and if you have the necessary resources, you should be able to craft it.
Note: Make sure you have enough available space in your inventory to hold the smelter.
Step 3: Place and Build the Smelter
With the smelter crafted, it’s time to find a suitable location in your base or camp to place it. Use the building menu to select the smelter and position it where you want it. Press the appropriate button to place and build the smelter.
Note: The smelter requires a solid foundation to be placed on, so make sure to create a flat surface or use the ground as a base.
Once the smelter is built, you can start using it to process your raw ores and turn them into ingots. Simply interact with the smelter and add the ore you want to melt. The smelter will consume coal as fuel, so make sure to have a sufficient supply.
By following this step-by-step guide, you’ll be able to create a smelter in Valheim and take your crafting abilities to the next level. Happy smelting!
Creating a smelter is an important step in Valheim as it allows you to process ores and metals into valuable materials. Here is a step-by-step guide on how to create a smelter in Valheim:
And there you have it! You have successfully created and used a smelter in Valheim. Now you can use the smelter to process ores and metals into useful materials for crafting and upgrading your equipment.
Valheim is a game that revolves around survival and crafting. As you progress through the world, you will need to craft various tools, weapons, and structures to help you survive and thrive. Here are some crafting tips to help you on your Valheim journey.
Gathering resources is an essential part of crafting in Valheim. You will need to gather materials like wood, stone, and ores to craft items. Explore the world and keep an eye out for different types of resources. You can use your trusty axe to chop down trees, your pickaxe to mine rocks, and your hoe to till the ground for farming.
Read Also: Learn how to successfully complete the fried chicken recipe in Spiritfarer
As you progress in Valheim, you will unlock new recipes for crafting. This is done by defeating bosses, exploring new biomes, and discovering new items. Make sure to check your crafting menu regularly to see if there are any new recipes available. Experiment with different combinations of materials to discover new craftable items.
Workbenches are essential for crafting in Valheim. They act as a central hub where you can craft items and access your storage. Set up workbenches in strategic locations around your base or near resource-rich areas. This will save you time and make crafting more efficient.
Read Also: Learn How to Complete The Elven Sanctum in God of War Ragnarok
Upgrading your tools is crucial for efficient resource gathering. As you progress, you will unlock better versions of tools like the pickaxe, axe, and hoe. These upgraded tools will allow you to gather resources faster and more efficiently. Make sure to keep an eye out for new tool upgrades and gather the necessary materials to craft them.
When crafting in Valheim, it’s important to plan your base layout carefully. Organize your crafting stations, storage chests, and other structures in a way that is easily accessible and efficient. This will save you time and make crafting and resource gathering much easier.
Valheim has a weight system that limits how much you can carry. To maximize resource efficiency, try to gather only the resources you need at the moment. This will free up inventory space and make resource gathering more efficient. Additionally, try to craft items in batches to save resources and time.
Don’t be afraid to experiment with different recipes in Valheim. Sometimes, combining unexpected materials can result in new and useful items. Try combining different resources together to see what you can create. Who knows, you might stumble upon a powerful weapon or a valuable item!
Crafting in Valheim can be a lot of work, especially if you’re playing alone. Consider joining forces with other players to divide the crafting tasks and gather resources more efficiently. Working together will allow you to progress faster and tackle more challenging tasks.
Different biomes in Valheim offer unique resources and crafting materials. Don’t be afraid to explore new biomes to gather rare resources and unlock new crafting recipes. Each biome has its own challenges and rewards, so be prepared for new threats and opportunities.
Above all, remember to have fun while crafting in Valheim. The game offers a vast and immersive world to explore and craft in. Enjoy the process of gathering resources, unlocking new recipes, and building your base. Don’t be afraid to get creative and make your mark on the Valheim world!
In Valheim, creating a smelter is an essential step in your journey. The smelter allows you to melt down ores to obtain metal bars, which are then used to craft various advanced items and structures. Follow this step-by-step guide to create a smelter in Valheim:
Creating a smelter in Valheim is a crucial step in progressing through the game. It allows you to obtain valuable metal bars for crafting advanced items and structures, making your journey easier and more rewarding. Follow this guide and start smelting!
A smelter in Valheim is a crafting station that allows players to smelt ore into ingots.
To create a smelter in Valheim, you need to gather the following resources: 20 stones, 5 Surtling Cores, and 10 Ancient Bark. Once you have these resources, open your hammer’s crafting menu and select the smelter option. Place it anywhere in your base and start smelting!
The purpose of a smelter in Valheim is to convert raw ore into ingots. Ingots are used for crafting various items and tools, making the smelter a crucial station for advancing in the game.
Yes, you can relocate a smelter in Valheim. Simply equip your hammer, right-click on the smelter, and select the option to dismantle it. You’ll receive back 50% of the original resources used to create it, allowing you to rebuild it elsewhere.
No, in Valheim, the only materials you can smelt in a smelter are ore. However, different types of ore can be smelted to create different types of ingots, which can then be used for crafting various items.
Having a smelter in Valheim is not necessary, but it is highly recommended. Smelting ore into ingots allows you to create stronger weapons, armor, and other useful items that will greatly improve your chances of survival in the game.
No, currently there is no way to automate the smelting process in Valheim. Players need to manually input ore into the smelter and monitor the progress to ensure the smelting is completed. However, the developers may introduce automation features in future updates.
How to get the Water Slide Tester job in BitLife If you’ve ever dreamed of getting paid to ride water slides all day, then becoming a Water Slide …
Read Article
Tower of Fantasy PDC1 password and location In the immersive world of Tower of Fantasy, players are constantly faced with challenges that require both …
Read Article
How to get the Cerberus mount in Final Fantasy XIV Final Fantasy XIV offers players a vast world filled with exciting mounts to collect and ride. One …
Read Article
How to complete The Relic in Destiny 2 Destiny 2 is a popular multiplayer online game that offers various missions and challenges for players to …
Read Article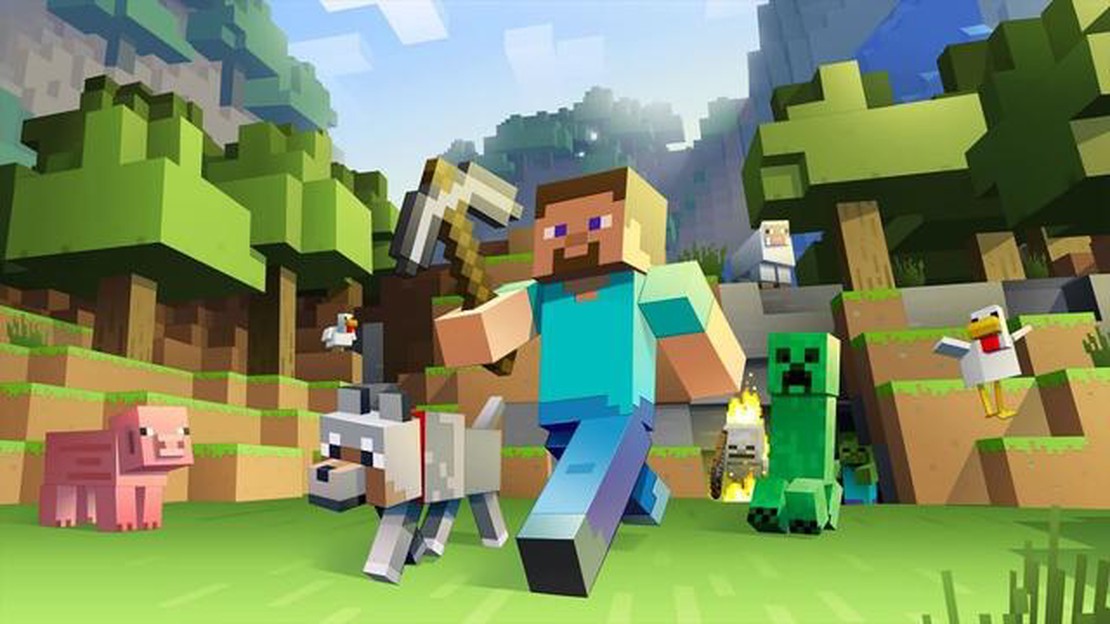
Best Minecraft axe enchantments In the world of Minecraft, axes are an essential tool for chopping down trees and collecting resources. However, to …
Read Article
Wild rift’s 9 best mage to win rank Looking to climb the ranks and dominate the game in Wild Rift? Look no further! We’ve compiled a list of the 9 …
Read Article


