
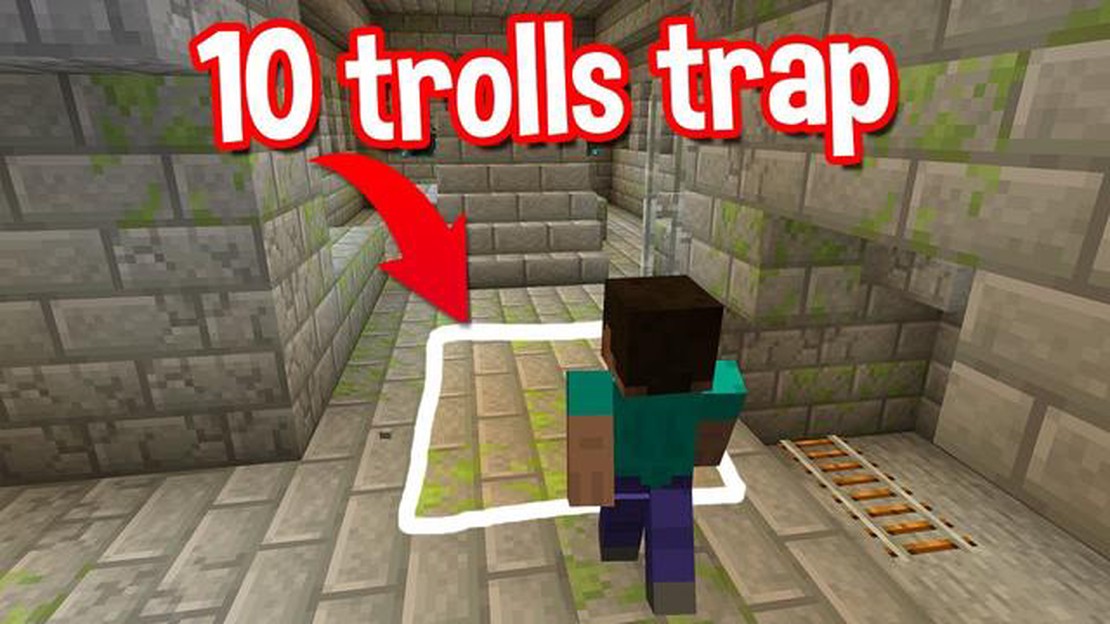

The 10 Best Minecraft Traps to Outsmart Your Friends
The 10 best minecraft traps If you’re a Minecraft player looking to add some excitement to your gameplay, traps are a great way to do it. Whether …
Read Article
Building curved walls in The Sims 4 can add a unique and stylish touch to your virtual homes. Whether you want to create a circular room or add a curved partition, mastering this skill can take your architectural designs to the next level. In this step-by-step guide, we will walk you through the process of building curved walls in The Sims 4, so you can unleash your creativity and create stunning spaces.
Step 1: Planning Your Curved Wall
Before you start building, it’s essential to plan out your curved wall. Consider the size and shape of the space you want to create, as well as its purpose within your Sim’s home. Are you looking to create an intimate reading nook or an open-concept living area? Sketch out your ideas and determine the dimensions of your curved wall, keeping in mind the available space and the architectural style of your Sim’s home.
Step 2: Building the Foundation
Once you have a clear plan, it’s time to build the foundation of your curved wall. Start by selecting the appropriate wall tool and creating a straight wall that matches one side of your desired curve. Next, navigate to the “Curved Walls” section in the wall tool options. Choose the type of curve you want, such as a convex or concave curve, and click and drag the wall to create the curved shape. Adjust the length and curvature as needed until you’re satisfied with the foundation.
Step 3: Adding Details and Finishing Touches
Now that you have the foundation of your curved wall, it’s time to add details and finishing touches to enhance its visual appeal. Experiment with different wall patterns, textures, and colors to make your curved wall stand out. Consider adding windows, doors, or decorative elements to complement the overall design of your space. Don’t forget to test how the lighting interacts with your curved wall to create the desired ambiance.
Pro Tip: Use the “bb.moveobjects” cheat code to place objects, such as furniture or plants, seamlessly along the curved wall.
With these step-by-step instructions, you can confidently build curved walls in The Sims 4 and transform your virtual homes into stunning architectural masterpieces. Remember to let your creativity flow and have fun experimenting with different shapes, styles, and colors. Happy building!
Curved walls can add an interesting and unique touch to your builds in The Sims 4. Here is a step-by-step guide on how to build curved walls in the game:
1. Start with a straight wall:
Begin by creating a straight wall where you want to add the curve. You can do this by selecting the wall tool and dragging to create a basic straight wall.
2. Add a diagonal wall:
To create the curve, you will need to add a diagonal wall to one end of the straight wall. Use the diagonal wall tool to do this.
3. Adjust the length of the diagonal wall:
With the diagonal wall selected, use the length adjustment handles to make it shorter or longer. This will determine the curvature of the wall.
4. Connect the diagonal wall to the straight wall:
Select the end of the diagonal wall and connect it to the end of the straight wall. This will create a curved corner where the two walls meet.
5. Repeat for additional curves:
If you want to create multiple curved walls, repeat steps 2-4 for each section. You can adjust the length of each diagonal wall to create different curvatures.
6. Refine the curve:
Once you have created the basic curve, you can refine it by adjusting the length of the straight walls or adding additional diagonal walls.
Read Also: Can you Mod Genshin Impact? A Comprehensive Guide to Genshin Impact Mods
7. Add windows and doors:
To add windows or doors to the curved walls, select the appropriate tool and place them as desired. The game will automatically adjust the size and shape of the windows or doors to fit the curved wall.
Read Also: 5 Letter Words with AI in the Middle – Wordle Game Help
8. Decorate and furnish:
Once you have finished creating your curved walls, you can decorate and furnish the interior as desired. The curved walls can provide a unique backdrop for your Sim’s home.
9. Experiment and have fun:
Building curved walls in The Sims 4 allows for creativity and experimentation. Don’t be afraid to try different shapes and sizes to create your desired look.
By following these steps, you can easily build curved walls in The Sims 4 and add a unique touch to your builds. Happy building!
If you’re new to building in The Sims 4 or have never tackled curved walls before, it’s essential to understand a few basic concepts before diving into the process. Curved walls can add a unique and artistic touch to your home, but they require some extra planning and technique.
Wall Tool: The basics of creating curved walls involve using the wall tool. In build mode, select the wall tool from the panel. There are different wall options to choose from, including straight, diagonal, and curved. Make sure to select the curved wall option to begin building your curved walls.
Placing Points: To create a curved wall, you need to place points that will define the curvature. Click on the starting point where you want the curve to begin and then click on additional points to shape the curve. The more points you place, the more precise and detailed the curve will be.
Manipulating Points: Once you’ve placed the points, you can manipulate them to adjust the shape of the curve. To do this, hover over a point, click and hold, and then drag it in the desired direction. Experiment with different point positions and adjustments to achieve the desired curvature.
Using Guides: To help you create accurate and symmetrical curved walls, you can use guide lines. These are visual references that can assist you in placing and manipulating the points. To activate the guides, go to the options panel in build mode and check the “Enable Guides” box. The guides will appear as horizontal and vertical lines, making it easier to align your points and walls.
Alt Key: When building curved walls, using the alt key can be helpful. Holding down the alt key while manipulating points allows you to move them independently without affecting neighboring points or walls. This can be particularly handy when creating complex curved shapes.
Practice: Building curved walls may take some practice to get the hang of it. Don’t be discouraged if your first attempts don’t turn out exactly as you hoped. Keep experimenting, adjusting, and refining your technique. With time and practice, you’ll become more comfortable and proficient in creating beautiful curved walls.
By understanding these basics, you’ll have a solid foundation for building curved walls in The Sims 4. Now you can move on to more advanced techniques to create stunning architectural designs in your virtual homes!
Before starting to build curved walls in The Sims 4, it’s important to have a plan and design in mind. Here are some steps to help you with planning and designing your curved walls:
Remember to be patient and take your time when building curved walls. It may take some trial and error to achieve the desired look, but with practice, you’ll be able to create stunning curved walls in The Sims 4.
Once you have the foundation and framework for your curved walls in place, it is time to start building and finishing them. Here are the steps to follow:
Remember, building curved walls in The Sims 4 requires some practice and experimentation. Don’t be afraid to try different techniques and explore various building options to achieve the desired result. Have fun and let your creativity shine!
Yes, you can build curved walls in The Sims 4. It requires a few extra steps compared to straight walls, but it is definitely possible.
To start building curved walls in The Sims 4, first place a wall on your lot. Then, select the wall and use the “BB.MoveObjects” cheat to move the wall wherever you want it. Repeat this process to create a curved shape with multiple walls.
No, it is not currently possible to build curved walls with different heights in The Sims 4. All walls in the game have a uniform height. However, you can create the illusion of curved walls with different heights by using half-walls or decorative objects.
Yes, there are some limitations when building curved walls in The Sims 4. One limitation is that curved walls cannot intersect with other objects, such as doors or windows. Another limitation is that you cannot create curved walls that are wider than one tile. Additionally, curved walls cannot have different heights.
The 10 best minecraft traps If you’re a Minecraft player looking to add some excitement to your gameplay, traps are a great way to do it. Whether …
Read Article
World of Warcraft: Shadowlands – Class tier list World of Warcraft: Shadowlands is the highly anticipated expansion to the popular MMORPG, bringing …
Read Article
Best sweaty skins in Fortnite Fortnite, the popular battle royale game developed by Epic Games, is known for its wide array of skins and outfits that …
Read Article
How to find all the South Wing Collection Chests in Hogwarts Legacy As you explore the magical world of Hogwarts in the upcoming RPG game Hogwarts …
Read Article
How to show your XYZ coordinates in Minecraft Minecraft is a popular sandbox game that allows players to explore and build in a virtual world. One …
Read Article
Should you wait an hour for Douglas in High on Life? Answered High on Life is a popular game that has taken the gaming world by storm. With its …
Read Article


