

Learn how Woven Mail works in Destiny 2 | Woven Mail guide
How Woven Mail works in Destiny 2 Woven Mail is a powerful armor set in Destiny 2 that provides excellent protection and unique abilities for players. …
Read Article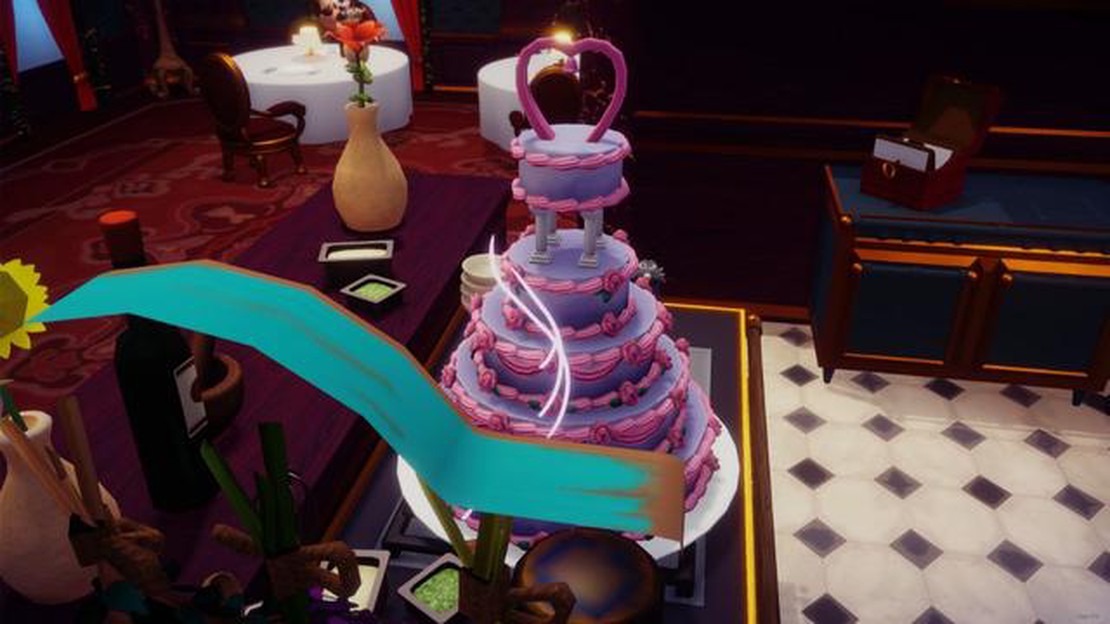
Are you a Disney fan planning your dream wedding? Look no further than Dreamlight Valley, where you can bring your fairy tale fantasies to life. And what better way to celebrate your magical day than with a dreamy Disney wedding cake?
Creating a Disney-inspired wedding cake may seem like a daunting task, but with this step-by-step guide, you’ll be able to create a masterpiece that will have your guests oohing and ahhing. From choosing the perfect theme to adding the finishing touches, we’ll walk you through the entire process, ensuring that your cake is as enchanting as your love story.
First, you’ll want to decide on a Disney theme for your wedding cake. Whether you’re a fan of Cinderella or Beauty and the Beast, there are endless possibilities to choose from. Once you’ve settled on a theme, gather inspiration by looking at Disney movies, characters, and even the theme park itself. This will help you visualize how you want your cake to look and set the tone for the rest of the planning process.
Next, it’s time to choose the flavors and fillings for your cake layers. Consider incorporating classic Disney flavors like vanilla, chocolate, or red velvet, or get creative with flavors like pineapple, coconut, or even lavender. Don’t forget to add a delicious filling between each layer to add an extra burst of flavor and moisture.
Now comes the fun part – decorating your Disney wedding cake. Start by covering your cake with a smooth layer of frosting or fondant and ensure that it’s perfectly level. Then, it’s time to add the details that will make your cake truly magical. Use edible decorations like sugar flowers, pearls, or even Disney-themed cake toppers to bring your chosen theme to life. Don’t be afraid to get creative and add personal touches that reflect you and your partner’s love story.
Finally, it’s time to display your stunning Disney wedding cake for all to see. Choose a beautiful cake stand or create a customized display that complements your overall wedding theme. Consider adding fairy lights or a charming tablecloth to create a whimsical ambiance around your cake. And don’t forget to have a professional photographer capture every enchanting detail – these memories will last a lifetime!
Creating a dreamy Disney wedding cake may seem like a daunting task, but with careful planning and attention to detail, you can have the cake of your dreams. Follow this step-by-step guide and let your imagination run wild. Your Disney-inspired wedding cake will be the centerpiece of your magical day and a delicious delight for all.
Are you a Disney fan looking to add some magic to your wedding day? Why not create a dreamy Disney wedding cake inspired by the enchanting world of Dreamlight Valley! Follow this step-by-step guide to bring some Disney sparkle to your big day.
Now that your dreamy Disney wedding cake is complete, get ready to wow your guests with a magical and delicious centerpiece. Remember to take plenty of pictures to capture the beauty and joy of your special day!
Read Also: The Best Moveset for Mewtwo in Pokémon Go: Maximize Your Battle Potential
Before starting the process of making a dreamy Disney wedding cake in Dreamlight Valley, it’s important to gather all the necessary ingredients and supplies. Here is a list of what you will need:
Once you have gathered all the ingredients and supplies, you are ready to embark on creating your dreamy Disney wedding cake in Dreamlight Valley!
To create a dreamy Disney wedding cake in Dreamlight Valley, you’ll need to start by preparing the cake layers and fillings. Follow these steps to ensure your cake turns out perfect:
By following these steps, you’ll be well on your way to creating a dreamy Disney wedding cake in Dreamlight Valley. The next steps will cover decorating the cake to match your Disney theme!
Read Also: How to Evolve Haunter into Gengar in Pokémon Brilliant Diamond and Shining Pearl: A Step-by-Step Guide
After you have successfully baked and assembled your Disney wedding cake, it’s time to bring the magic to life by decorating it with a Disney theme. Here are some steps to help you create a dreamy Disney-inspired cake:
Remember to have fun and let your creativity shine while decorating your Disney wedding cake. The final result will be a stunning centerpiece that will bring joy and nostalgia to your special day.
Dreamlight Valley is a magical and enchanting location in Disney that serves as the backdrop for many fairytale weddings.
To make a Disney wedding cake, you will need to gather all the necessary ingredients, bake the cake layers, stack and frost them, and then decorate the cake with Disney-themed decorations, such as characters and symbols.
Some popular Disney-themed decorations for wedding cakes include figurines of Disney princesses, Mickey Mouse and Minnie Mouse cake toppers, Cinderella’s glass slipper, and the Disney castle.
The time it takes to make a Disney wedding cake can vary depending on the complexity of the design and the baker’s experience. On average, it can take anywhere from a few hours to a full day to make a Disney wedding cake.
Yes, many bakeries offer Disney-themed wedding cakes and can create a custom design based on your preferences. It’s best to contact the bakery in advance to discuss your requirements and place an order.
You can find recipes for making a Disney wedding cake in various places, including cookbooks, baking websites, and online communities dedicated to cake decorating. It’s recommended to try a few different recipes to find one that suits your taste and skill level.
How Woven Mail works in Destiny 2 Woven Mail is a powerful armor set in Destiny 2 that provides excellent protection and unique abilities for players. …
Read Article
Where to get Beast Balls in Pokémon Scarlet and Violet In Pokémon Scarlet and Violet, Beast Balls are an extremely valuable and sought-after item. …
Read Article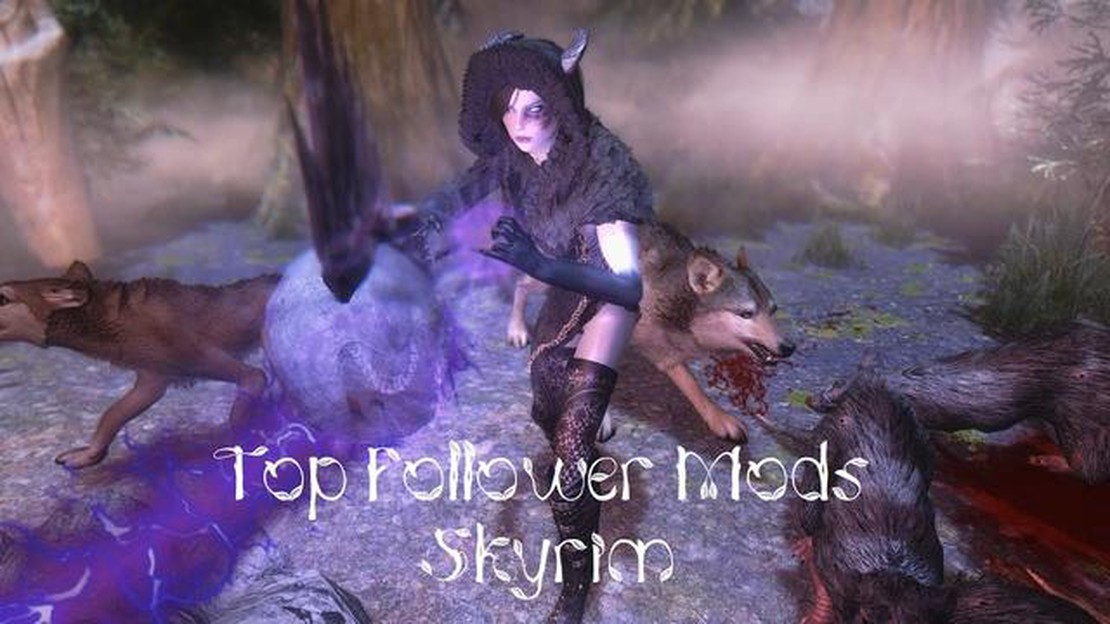
Skyrim’s top 10 best follower mods When it comes to exploring the vast world of Skyrim, having a trustworthy companion by your side can make all the …
Read Article
How to build Fresh Storage in Grounded If you’ve been playing Grounded, you know how important it is to have a reliable storage system. With limited …
Read Article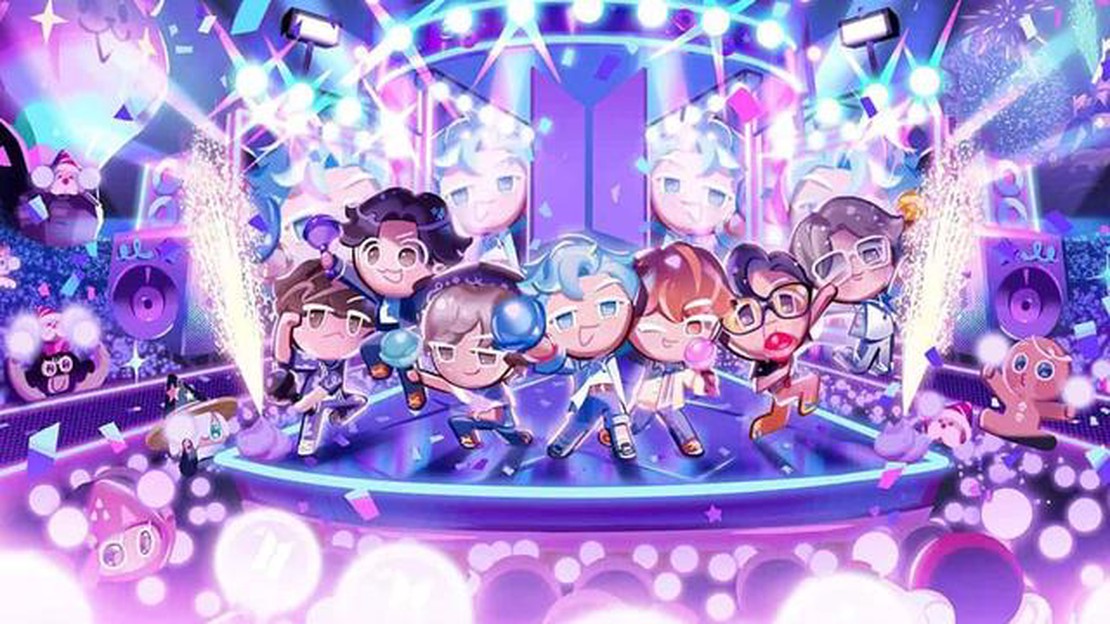
How to get the BTS cookies in Cookie Run Kingdom Cookie Run Kingdom is a popular mobile game that combines the addictive gameplay of Cookie Run with …
Read Article
How to unlock the Demi-Ozma mount in Final Fantasy XIV Final Fantasy XIV is known for its vast world, rich lore, and exciting mounts. One of the most …
Read Article


