

Guide to obtaining Thor’s cape in Assassin’s Creed Valhalla
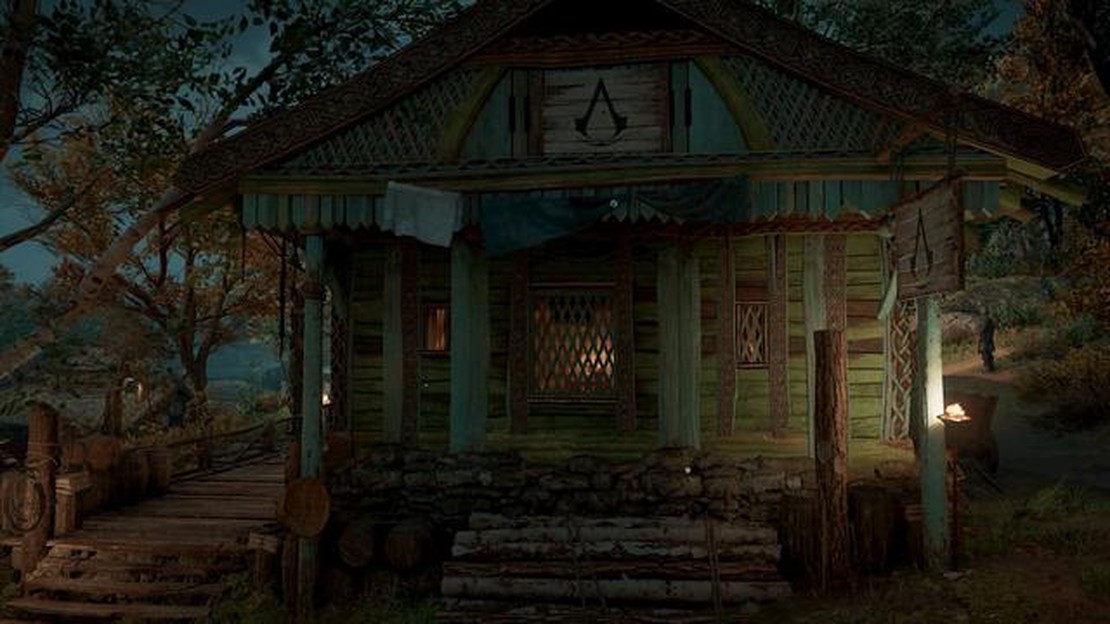
How to get Thor’s cape in Assassin’s Creed Valhalla Assassin’s Creed Valhalla, the latest installment in the long-running Assassin’s Creed franchise, …
Read Article
If you’re a fan of Roblox, you might have come across gamepasses while playing different games. Gamepasses are special items or abilities that players can purchase in a game to enhance their gameplay experience. If you’ve ever wondered how you can create your own gamepass in Roblox, this step-by-step guide is for you.
Creating a gamepass in Roblox is a relatively simple process that involves a few steps. First, you’ll need to have a Roblox account and access to the Roblox Studio, which is where you can design and build your own games. Once you have the necessary tools, you can begin the process of creating your very own gamepass.
The first step is to open Roblox Studio and create a new place or open an existing one. This will serve as the environment in which your gamepass will be used. Next, you’ll want to locate the “Game Passes” tab in the Studio Toolbox. Here, you can click on the “Create New” button to start creating your gamepass.
Once you’ve clicked on the “Create New” button, a window will pop up where you can customize your gamepass. You can give it a name, add a description, and even set a price for players to purchase it. You can also choose whether the gamepass is one-time use or a permanent upgrade.
After you’ve finished customizing your gamepass, you can click the “Create” button to finalize the creation process. Your gamepass will now be added to your game and will be available for players to purchase. You can also further customize your gamepass by adding a specific icon or thumbnail image to make it more visually appealing.
Creating a gamepass on Roblox is a great way to enhance your game and offer additional features and benefits to your players. By following this step-by-step guide, you can easily create your own gamepass and make your Roblox game even more exciting.
Creating a gamepass on Roblox allows you to sell special in-game items or perks to players, giving them a unique and enhanced experience. Follow these steps to make a gamepass on Roblox:
That’s it! You have successfully created a gamepass on Roblox. Players can now purchase the gamepass to gain access to the special items or perks you have created.
Read Also: Why is the Xbox App Download So Slow? 4 Effective Solutions
Remember to regularly check and manage your gamepasses to ensure they are functioning correctly and provide a great experience for your players.
To create a gamepass on Roblox, follow these step-by-step instructions:
Once you have created the gamepass, it will be available for players to purchase in your game or on the Roblox Marketplace. It is important to regularly check the performance of your gamepass and consider making updates or adjustments based on player feedback and preferences.
Remember to advertise your gamepass effectively to attract potential buyers and increase its popularity. You can use platforms like social media or create in-game advertisements to promote your gamepass to a wider audience.
Read Also: The Best Moveset for Hisuian Arcanine in Pokémon Go
To implement the gamepass in your Roblox game, you’ll need to follow these steps:
By following these steps, you can easily implement a gamepass in your Roblox game. Remember to test your game thoroughly to ensure that the gamepass functionality is working as expected. Good luck!
Roblox is an online platform and game creation system where users can create their own games and play games created by other users.
A gamepass on Roblox is an item that players can purchase to get special perks or bonuses in a specific game. It is created by the game developer and can be bought with Robux, the virtual currency of Roblox.
No, gamepasses on Roblox are not free. They are purchased with Robux, the virtual currency of Roblox. The price of a gamepass is determined by the game developer.
Yes, you can create multiple gamepasses for your game on Roblox. Each gamepass can have different perks or bonuses for players to purchase.
How to get Thor’s cape in Assassin’s Creed Valhalla Assassin’s Creed Valhalla, the latest installment in the long-running Assassin’s Creed franchise, …
Read Article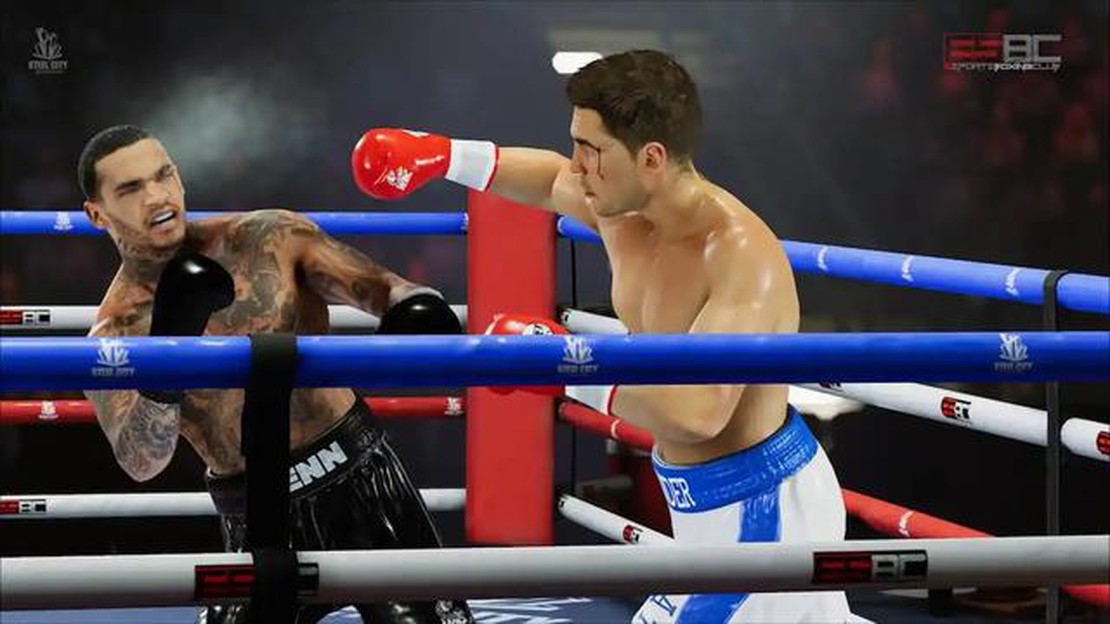
Undisputed roster – Full list of playable boxers When it comes to the ultimate boxing game experience, look no further than Undisputed. With its …
Read Article
How to get a White Passion Lily in Disney Dreamlight Valley Welcome to Disney Dreamlight Valley, where magical adventures await! One of the most …
Read Article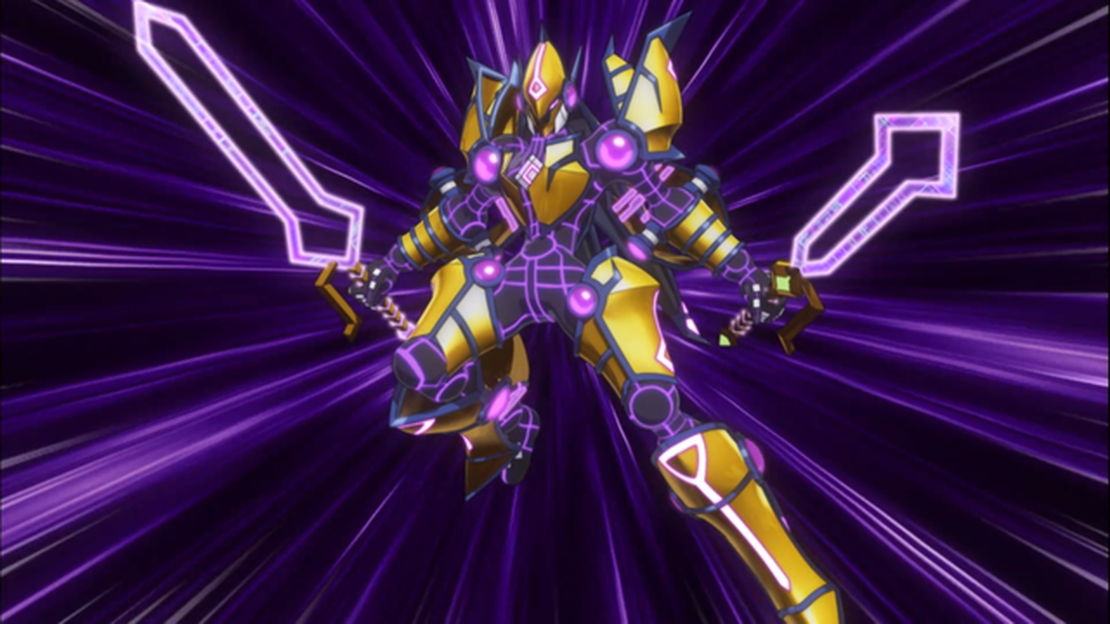
How to play the Link Generation deck in Yu-Gi-Oh Master Duel If you’re a fan of the Yu-Gi-Oh trading card game and are looking to dominate in the new …
Read Article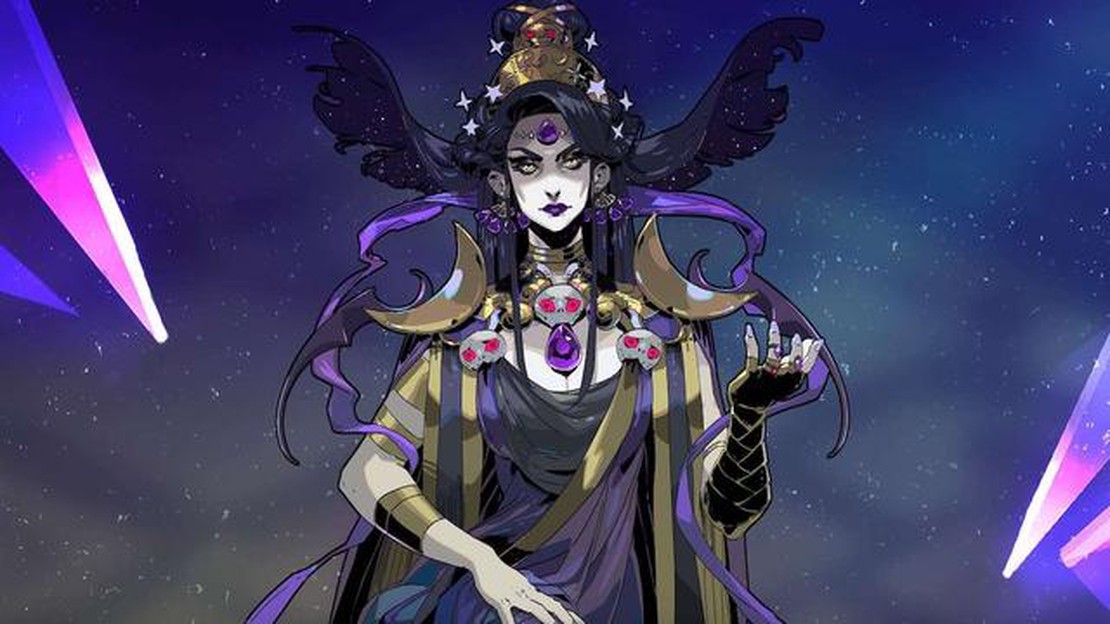
How to complete Nyx’s Favor in Hades In the action-packed roguelike game Hades, players take on the role of Zagreus, the son of the God of the …
Read Article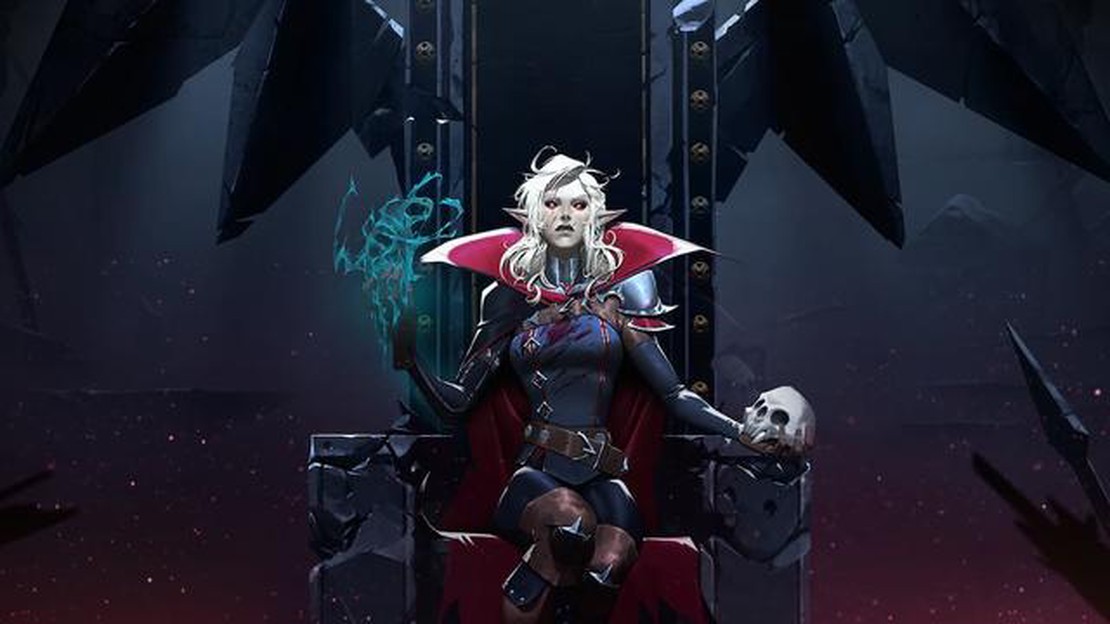
V Rising sells 500K copies, crosses 100K concurrent players, keeps climbing Steam charts V Rising, the highly anticipated vampire survival game …
Read Article


