
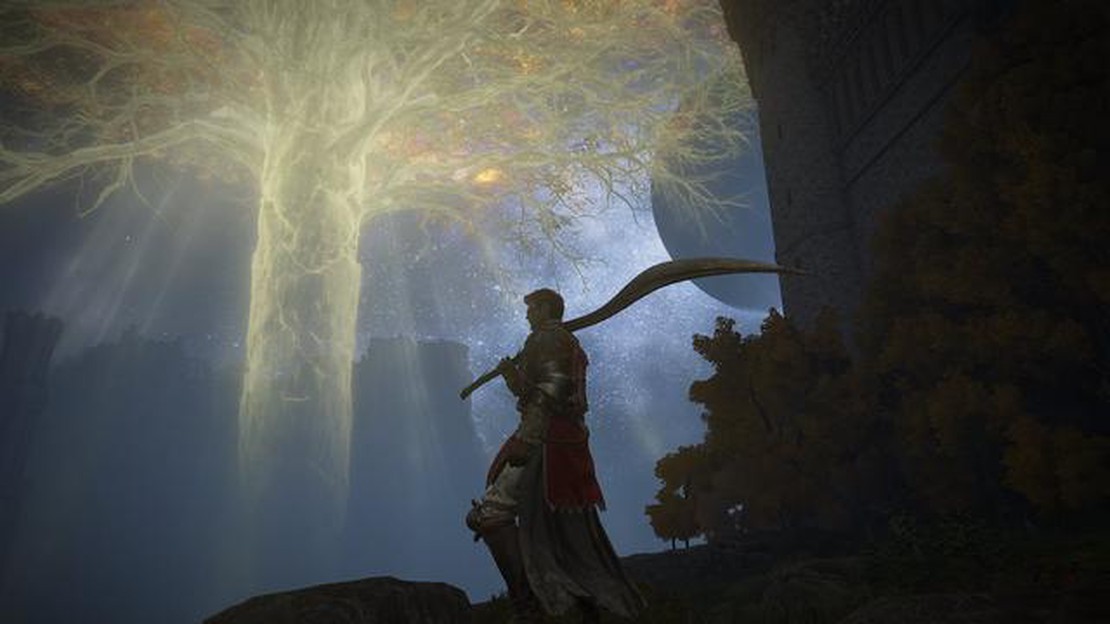

Explore the Rose Church Location in Elden Ring - Guide and Tips
Where to find the Rose Church in Elden Ring Welcome to our guide on exploring the Rose Church location in Elden Ring! In this guide, we will take you …
Read Article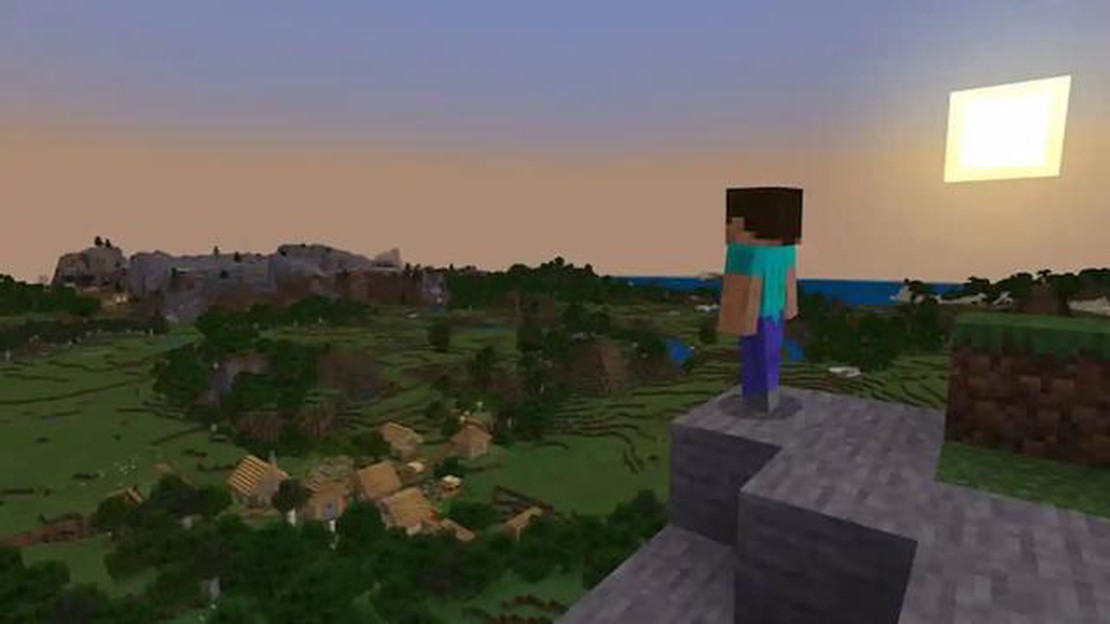
Minecraft is a popular sandbox game that allows players to create and explore virtual worlds. One of the most exciting aspects of the game is the ability to customize your character’s appearance by changing their skin. Whether you’re playing on PC, console, or the Pocket Edition, changing your Minecraft skin is a straightforward process that allows you to express your individuality and stand out in the game.
To change your Minecraft skin on PC, you can use either the official Minecraft website or third-party skin websites. The official website provides a vast collection of skins that you can choose from. Simply visit the website, log in to your Minecraft account, and navigate to the “Skins” section. From there, you can browse through the available skins, select the one you like, and click the “Change” button to apply it to your character. Alternatively, you can download skins from third-party websites, save them to your computer, and then upload them to the Minecraft website following the same steps.
On console, changing your Minecraft skin is just as easy. Open the game and navigate to the “Store” section. Here, you’ll find a variety of skin packs available for purchase or download. Browse through the options and choose the skin pack you want. Once downloaded, go to the “Customization” menu and select the “Change Skin” option. From there, you can choose the skin pack you downloaded and apply it to your character. Some skin packs may also include additional accessories and textures to further customize your character’s appearance.
If you’re playing Minecraft Pocket Edition on your mobile device, changing your skin is also a simple process. Start by downloading a skin of your choice from the online store or a third-party website. Once you have the skin file saved on your device, open the Minecraft app and go to “Settings.” From there, select “Profile” and then “Skin.” Choose the option to “Select a File” and navigate to the location where you saved the skin file. Select the skin file and apply it to your character. Now, you can enjoy playing Minecraft with your newly customized skin on the go!
Changing your Minecraft skin is a fun and easy way to personalize your gaming experience. Whether you’re on PC, console, or the Pocket Edition, follow these step-by-step guides to change your Minecraft skin and showcase your unique style in the game.
If you’re playing Minecraft on PC and want to change your character’s skin, follow these easy steps:
That’s it! You’ve successfully changed your Minecraft skin on PC. Now you can show off your unique style while exploring the blocky world of Minecraft.
Changing your Minecraft skin allows you to customize the appearance of your character. There are several ways to download skins, depending on the platform you are playing on:
Read Also: Summoning the Bell Bearing Hunter in Elden Ring – Complete Boss Guide
Now that you know how to access the Minecraft skins folder on your respective device, you can easily change your Minecraft skin to any custom skin you want!
Changing the default Minecraft skin with a custom one allows you to personalize your character and stand out in the game. Here’s how you can replace your default skin with a custom one:
Read Also: Tears of the Kingdom – Are ReDead in Tears of the Kingdom?
By following these steps, you can easily replace the default Minecraft skin with a custom one and showcase your unique style while playing the game.
Changing Minecraft skins on console is a straightforward process. Follow these step-by-step instructions to change your Minecraft skin on your console version of the game.
Congratulations! You have successfully changed your Minecraft skin on your console version of the game. Enjoy playing with your new look!
Yes, there are several websites where you can download Minecraft skins. Some popular ones include minecraftskins.com, planetminecraft.com, and namemc.com. These websites offer a wide range of skins for you to choose from. Simply browse through the available skins and download the ones that you like to your computer or device.
Where to find the Rose Church in Elden Ring Welcome to our guide on exploring the Rose Church location in Elden Ring! In this guide, we will take you …
Read Article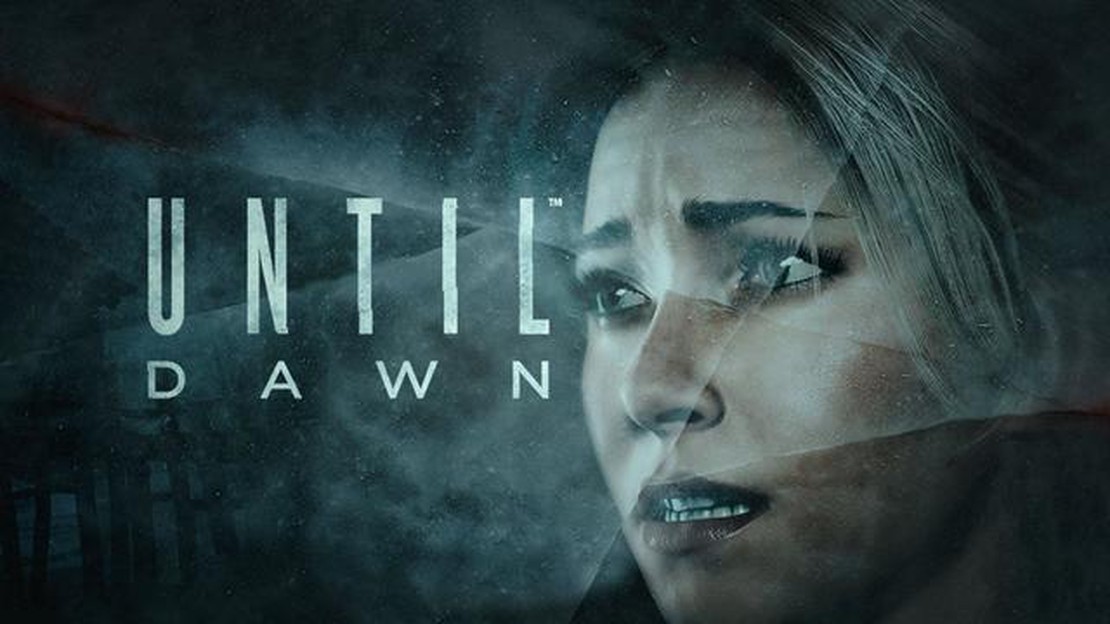
Until Dawn – How to Save or Kill Every Character In the thrilling interactive horror game Until Dawn, players are faced with difficult life-or-death …
Read Article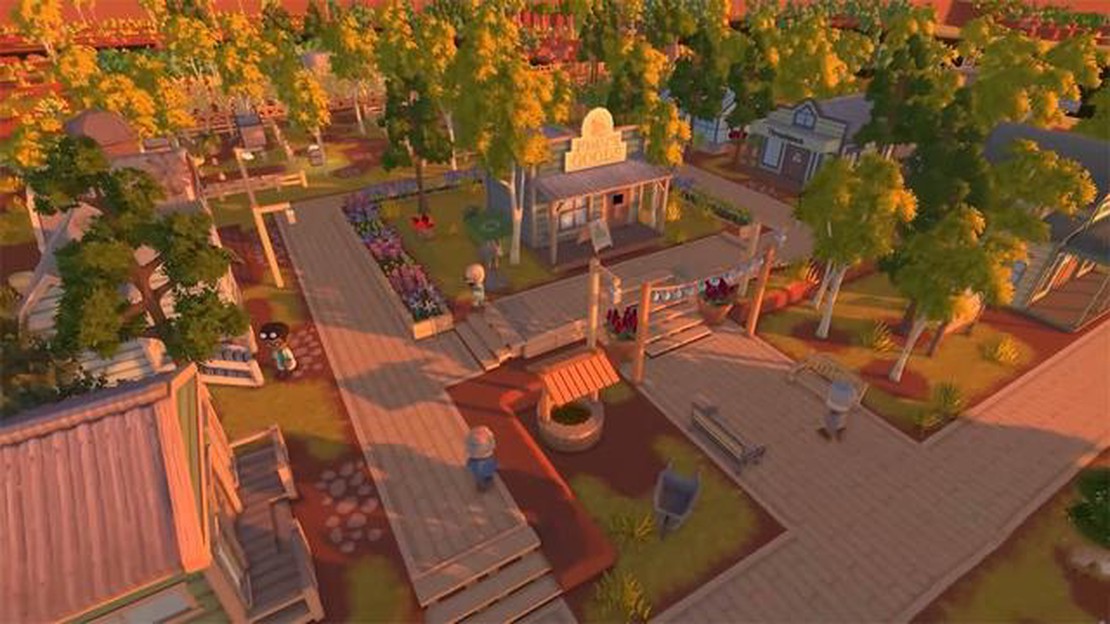
How to build a quarry in Dinkum Looking to build a quarry in Dinkum? Look no further! In this step-by-step guide, we’ll take you through the process …
Read Article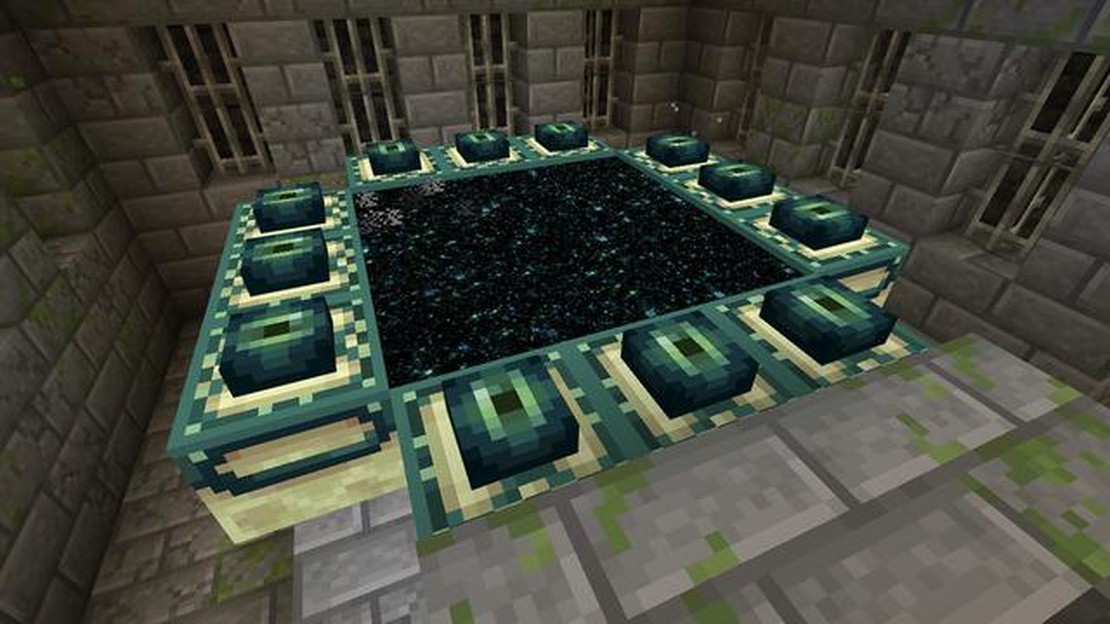
How to build an End Portal in Minecraft Building an End Portal in Minecraft is a crucial step towards reaching the game’s final dimension and …
Read Article
What are the lyrics to “Undefeatable” in Sonic Frontiers? Full lyrics Sonic Frontiers, the highly anticipated new game in the Sonic the Hedgehog …
Read Article
How to make a mold in Green Hell Green Hell is a survival game set in the Amazon rainforest, where players must navigate the harsh environment in …
Read Article


