

Tears of the Kingdom – Camera Location & How to Unlock It
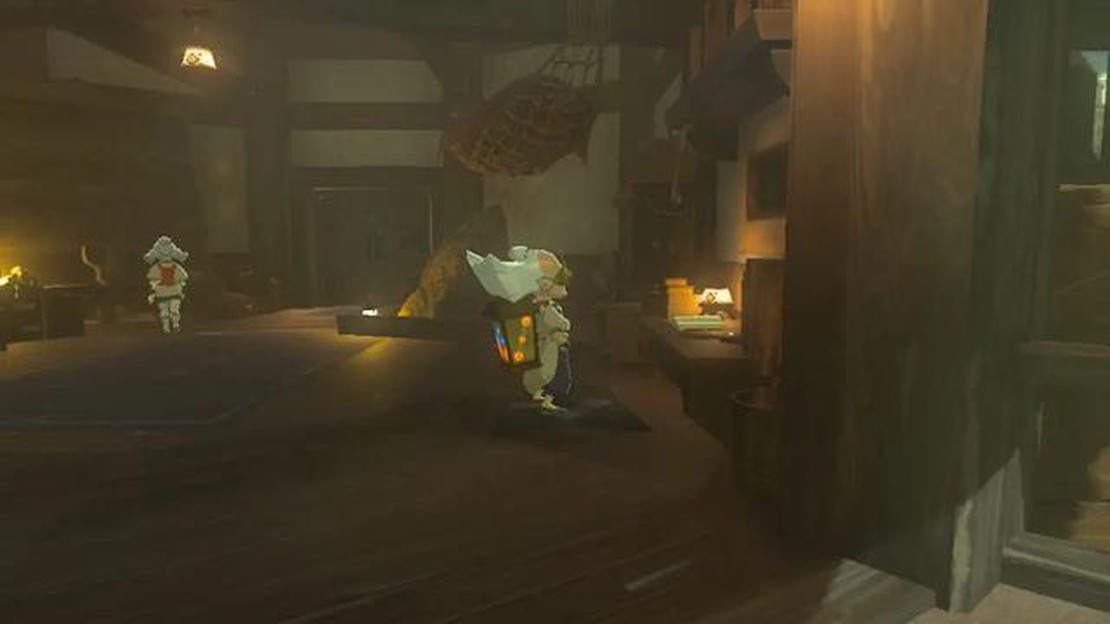
Unveiling the Hidden Secrets: Discover the Elusive Camera Location and Unlock it in the Kingdom’s Tears Welcome to our guide on the camera location …
Read Article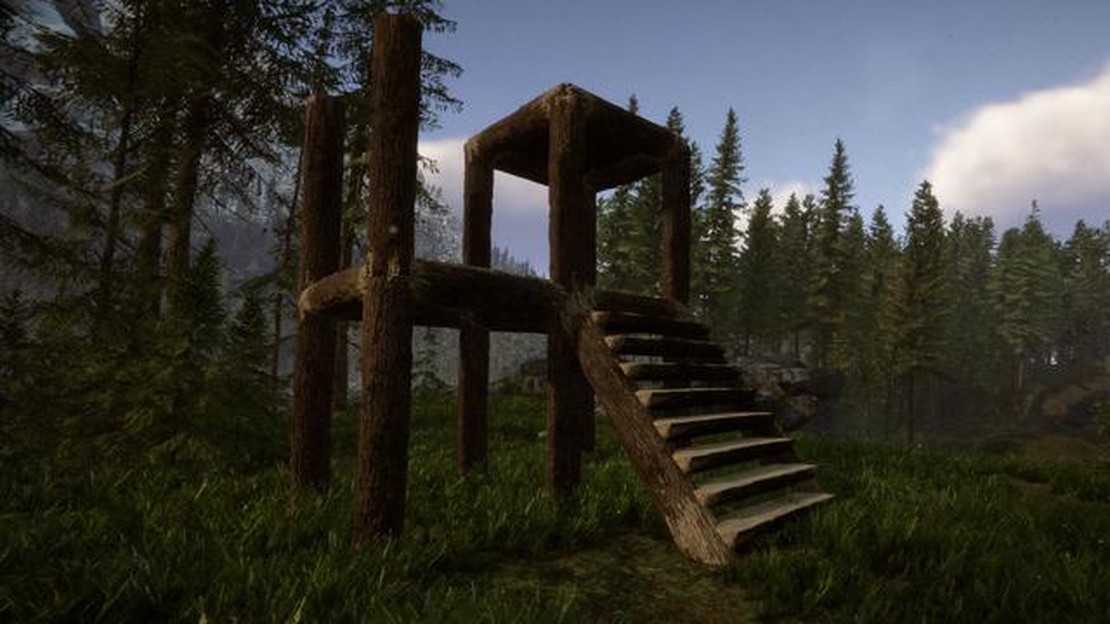
Welcome to our step-by-step guide on how to build a roof in Sons of the Forest! In this game, survival is key, and having a safe and secure shelter is essential. A well-built roof not only protects you from the elements but also provides a sense of comfort and security. Whether you’re a seasoned player or just starting out, this guide will walk you through the process of constructing a sturdy roof that will keep you safe from the dangers of the forest.
Step 1: Gather the necessary materials
Before you can start building your roof, you’ll need to gather the necessary materials. These typically include logs, sticks, and rocks. Logs will be the primary building material for the roof, providing structural support and stability. Sticks and rocks will be used to reinforce the structure and fill in any gaps.
Pro tip: Make sure to gather more materials than you think you’ll need. It’s always better to have extra on hand in case of emergencies.
Step 2: Lay the foundation
Once you’ve gathered your materials, it’s time to lay the foundation for your roof. Start by selecting a sturdy and flat surface for your shelter. Clear any debris or obstacles from the area to ensure a smooth construction process. Use rocks or sticks to mark the corners of your shelter, creating a rectangular shape that will serve as the base for your roof.
Pro tip: Take into consideration the direction of the wind and ensure that your shelter is facing away from it to minimize the impact of the elements.
Step 3: Begin building the frame
With the foundation in place, you can now start constructing the frame of your roof. Utilize the logs you gathered earlier to create a grid-like pattern on top of the foundation. This will provide the necessary support for the roof. Make sure to interlock the logs at the corners to strengthen the structure.
Pro tip: To optimize stability, consider adding diagonal supports to the frame using additional logs or sticks.
Step 4: Install the roof covering
Once the frame is complete, it’s time to install the roof covering. Layer additional logs horizontally on top of the frame, ensuring that they overlap for maximum protection against rain and other elements. Use sticks or rocks to secure the logs in place, filling in any gaps and reinforcing the structure.
Pro tip: For added insulation, consider attaching leaves or other natural materials to the roof covering.
Step 5: Test the stability
Read Also: How to Find a Box of Wondrous Secrets in Sea of Thieves | Expert Guide
After finishing the construction, it’s important to test the stability of your roof. Apply some force to ensure that it can withstand wind and other potential hazards. Make any necessary adjustments or reinforcements as needed to ensure the safety and longevity of your shelter.
With these steps, you’ll have a solid understanding of how to build a roof in Sons of the Forest. Remember to always prioritize safety and choose the best materials available. Good luck surviving in the forest!
Building a roof in Sons of the Forest is an important step in creating a secure and functional base. With a roof, you can protect yourself from enemies, harsh weather conditions, and other threats. Follow this step-by-step guide to learn how to build a roof in Sons of the Forest.
Now that you have successfully built a roof in Sons of the Forest, you can enjoy the benefits of having a secure and protected base. Remember to regularly maintain and repair your roof to ensure its durability and longevity.
Read Also: Discover the Mystery of the Mechanical Box in Pokémon Legends: Arceus
Building a roof in Sons of the Forest requires various materials to ensure a sturdy and functional structure. These materials play a crucial role in protecting your base from the elements, providing shelter, and adding aesthetic appeal. Here are the essential materials you will need:
By gathering these materials, you will have everything necessary to construct a durable and functional roof in Sons of the Forest. Make sure to plan your design carefully and consider the specific requirements of your base before beginning the construction process.
Before building a roof in Sons of the Forest, it’s important to clear the area where the roof will be constructed. This step is crucial to ensure a sturdy and stable foundation for your roof.
To clear the area, follow these steps:
By clearing the area before constructing the roof, you ensure that the foundation is stable and free from any potential obstacles. This will help to ensure safe and efficient construction of the roof in Sons of the Forest.
In this step, we will be constructing the roof frame for your base in Sons of the Forest. The roof frame is an essential component that provides stability and support to the roof structure. Follow the steps below to build the roof frame:
Congratulations! You have successfully completed step 2 of building the roof in Sons of the Forest. Follow the remaining steps to finish constructing your roof structure and complete your base.
To build a roof in Sons of the Forest, you will need the following materials: logs, sticks, stones, and a rope. You will also need a blueprint for the roof structure.
To obtain the blueprint for the roof structure in Sons of the Forest, you need to explore the game world and search for hidden locations or solve puzzles. Blueprints are often found in caves or other hard-to-reach areas.
The first step in building a roof in Sons of the Forest is to gather the necessary materials. This includes collecting logs, sticks, stones, and a rope. Once you have all the materials, you can move on to the next step.
No, you cannot build a roof without a blueprint in Sons of the Forest. The blueprint is necessary to guide you on how to assemble and construct the roof structure correctly. Without it, you may end up with an unstable or incomplete roof.
The best location to build a roof in Sons of the Forest is in a safe area where you can easily defend against enemies. It’s also ideal to choose a location near a source of water or food for convenience. Avoid building in heavily forested areas or near dangerous creatures.
Unveiling the Hidden Secrets: Discover the Elusive Camera Location and Unlock it in the Kingdom’s Tears Welcome to our guide on the camera location …
Read Article
How to get Legendary Runes in Guild Wars 2 Guild Wars 2 offers players a vast array of customization options for their characters, and one of the most …
Read Article
Where to find Wisps in Valheim Valheim is a vast open-world survival game that is filled with mystical creatures and dangerous biomes. One of these …
Read Article
How to get Deepsight Resonance weapons in Destiny 2 Deepsight Resonance Weapons are some of the most powerful and sought-after weapons in Destiny 2. …
Read Article
A Comprehensive Guide to All Agumon Digivolutions in Digimon Survive: Unveiling Their Evolutionary Paths Agumon is one of the most iconic Digimon …
Read Article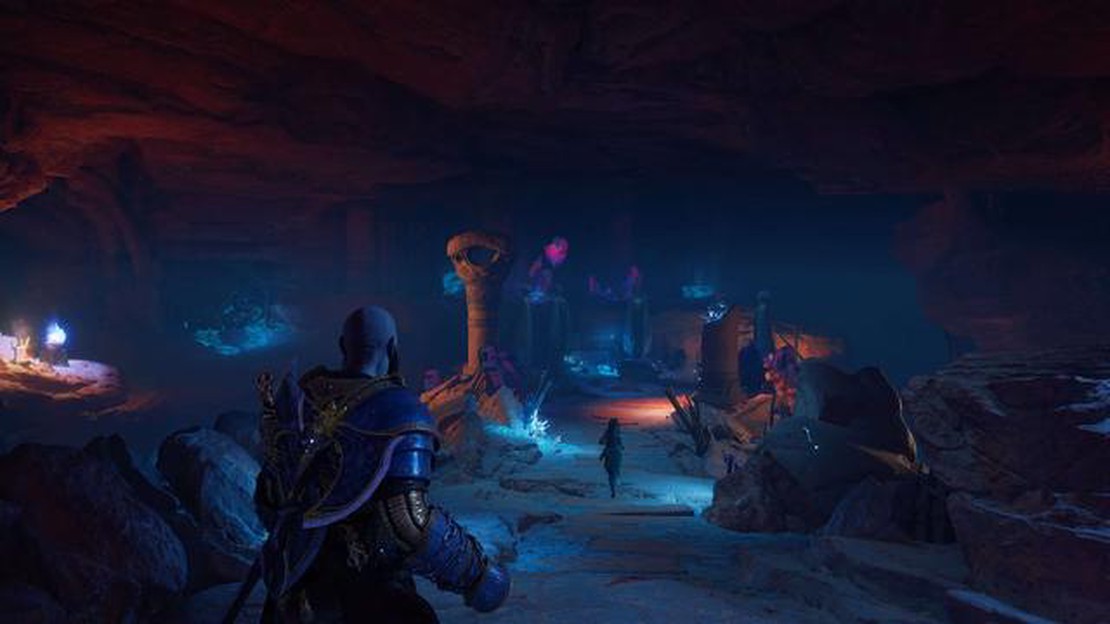
How to unlock all Nornir Chests in The Forbidden Sands in God of War Ragnarok God of War Ragnarok is an epic action-adventure game that takes players …
Read Article


