

Fast Element Farming Methods in Ark: Survival Evolved
How to farm Element quickly in Ark: Survival Evolved Ark: Survival Evolved is a popular survival game that challenges players to navigate a …
Read Article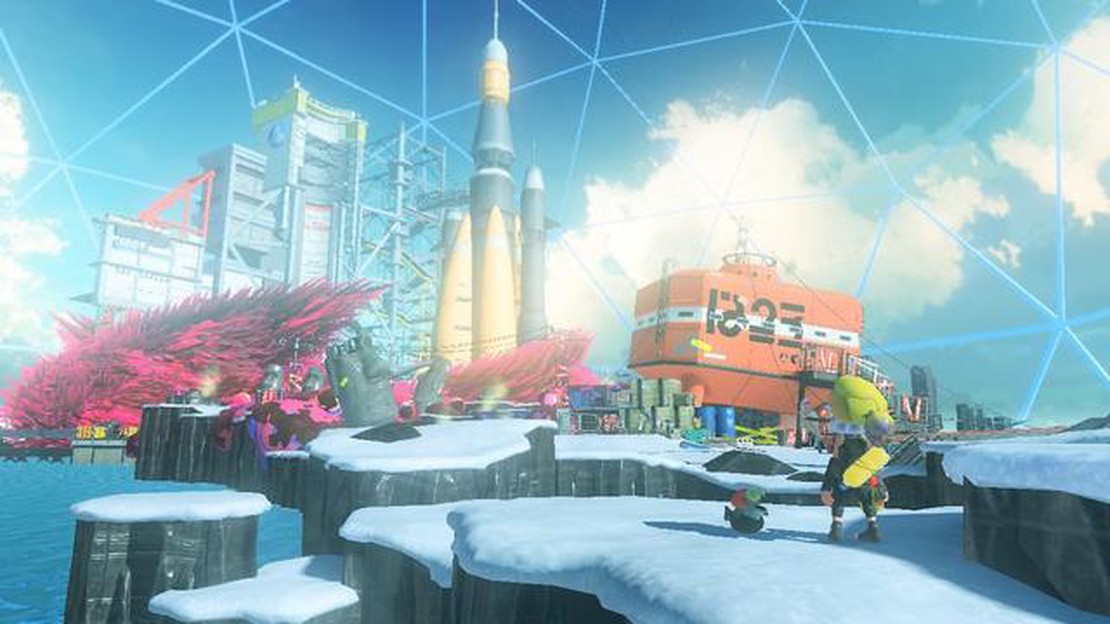
Welcome to our Splatoon 3 campaign level walkthrough, where we will guide you through each level and help you find all the switches locations. In Splatoon 3, the campaign mode offers a variety of challenging levels filled with enemies, obstacles, and hidden switches. These switches are crucial to unlocking new areas and progressing through the game.
As you navigate through the campaign levels, keep an eye out for the switches hidden throughout the environment. Some switches may be hidden behind crates or walls, while others may require you to solve puzzles or defeat enemies to access them. Switches can be activated by shooting them with your ink, so make sure to have enough ink supply when you approach a switch.
By finding and activating all the switches in each level, you will not only unlock new paths and shortcuts but also earn valuable collectibles and power-ups. These power-ups can give you an advantage in battles or assist you in completing challenging missions. So, be thorough and explore every nook and cranny to ensure you don’t miss any switches!
Throughout this walkthrough, we will provide detailed instructions and tips to help you locate all the switches in every level. We recommend checking back regularly as we update the guide with new levels and their corresponding switch locations. Get ready to switch things up and conquer Splatoon 3’s campaign mode!
Splatoon 3 Switching Things Up is a new campaign level in the highly anticipated Splatoon 3 game for the Nintendo Switch. In this level, players will need to utilize their skills and strategy to navigate through a series of challenging obstacles and defeat enemies to reach the end goal.
Throughout the level, players will encounter various switches that need to be activated in order to progress. These switches can be found in different areas and may require specific actions to activate. To help you complete the level, we have compiled a walkthrough that includes the locations of all the switches.
By activating all the switches in Splatoon 3 Switching Things Up, you will unlock the path to the next level. Use this walkthrough as a guide to help you complete the level and progress through the campaign in Splatoon 3.
In Splatoon 3 Switching Things Up campaign, there are several switches that you need to find and activate in order to progress through the levels. Here is a guide on the location of all the switches in the game:
Read Also: How to Make Sweet Cider Lake in Genshin Impact: A Step-by-Step Guide | Website Name
Remember, finding and activating all the switches is crucial to progressing through the campaign, so be sure to keep an eye out for them as you play!
Welcome to our collection of guides for Splatoon 3! Whether you’re a seasoned Inkling or a fresh recruit, these guides will help you navigate through the colorful world of Splatoon 3 and improve your skills in both the campaign and multiplayer modes.
Our campaign walkthrough will guide you through each level, providing detailed explanations of the objectives, enemy encounters, and secret collectibles. Follow along to make sure you’re not missing any hidden switches, power-ups, or special boss strategies.
Joining the turf wars? Our multiplayer strategies guide will teach you the best techniques for claiming territory, splatting opponents, and supporting your team. Discover the strengths and weaknesses of each weapon class and learn how to communicate effectively with your teammates for victory!
No Inkling is complete without the right gear! Our gear and ability guide will help you understand the different types of clothing, headgear, and shoes available in Splatoon 3. Learn how to optimize your gear for specific playstyles and uncover the most powerful ability combinations for different weapons.
If you have any Splatoon 3 amiibo, our guide will show you how to unlock special content and features with each figurine. From exclusive gear and weapons to bonus challenges and in-game currency, using amiibo in Splatoon 3 will enhance your gaming experience!
Read Also: Where to Find Iron Thorns in Pokémon Scarlet and Violet - Locations Guide
With these guides at your disposal, you’ll be able to conquer the world of Splatoon 3 and become an elite Inkling. Stay fresh and keep splatting!
In the Splatoon 3 campaign level, the switches can be found in various locations. You will need to explore the level and look for hidden areas or platforms to find the switches.
The number of switches in the Splatoon 3 campaign level can vary. Each level may have a different number of switches that you need to find. Make sure to keep an eye out for all the switches as you progress through the level.
When you activate all the switches in the Splatoon 3 campaign level, different things can happen depending on the level. It could unlock a hidden path, reveal a collectible, or trigger an event that progresses the story or gameplay.
Finding the switches in the Splatoon 3 campaign level can be challenging. Some switches may be hidden in well-concealed locations, while others may require you to complete certain tasks or puzzles to access them. It’s important to explore the level thoroughly and think outside the box to find all the switches.
While it may be possible to progress through the Splatoon 3 campaign level without finding all the switches, it is highly recommended to find them. Activating all the switches often leads to additional rewards, secrets, or alternate paths that can enhance your overall gaming experience.
No, finding all the switches in the Splatoon 3 campaign level is not mandatory to complete the game. However, it can provide an extra challenge and add more content to your gameplay experience. It’s up to you to decide how much of the game you want to explore and discover.
How to farm Element quickly in Ark: Survival Evolved Ark: Survival Evolved is a popular survival game that challenges players to navigate a …
Read Article
All Minecraft Championship (MCC) 26 teams and players The Minecraft Championship (MCC) is a highly anticipated event in the Minecraft gaming …
Read Article
The best builds for the Elementalist in Guild Wars 2 The Elementalist is one of the most versatile and powerful classes in Guild Wars 2. With the …
Read Article
All Garchomp weaknesses and best Pokémon counters in Pokémon Brilliant Diamond and Shining Pearl Garchomp is a powerful Dragon/Ground-type Pokémon …
Read Article
How Woven Mail works in Destiny 2 Woven Mail is a powerful armor set in Destiny 2 that provides excellent protection and unique abilities for players. …
Read Article
How to complete Counting Sheep in Assassin’s Creed Valhalla Welcome to our comprehensive guide on how to complete the “Counting Sheep” quest in …
Read Article


