

Where to Find the Level Up Token at Condo Canyon in Fortnite - Tips and Guide
Where to find the Level Up Token at Condo Canyon in Fortnite Welcome to our guide on finding the Level Up Token at Condo Canyon in Fortnite! Condo …
Read Article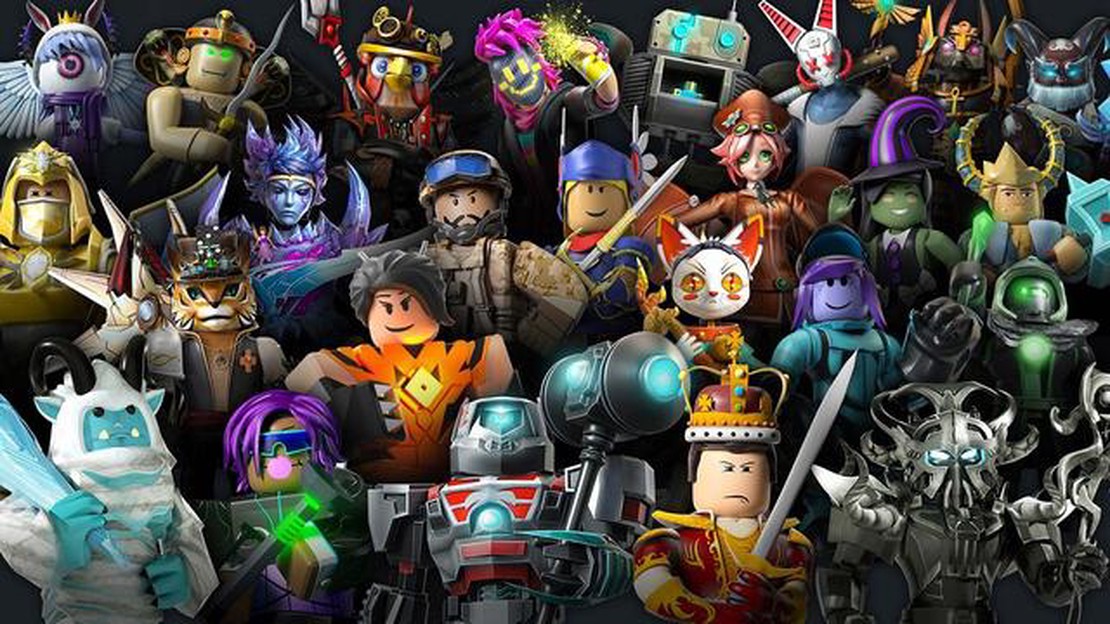
Roblox is a popular online platform where users can create and play games. With its vibrant and imaginative community, Roblox has become a hub for creativity of all kinds, including drawing. Whether you’re an aspiring artist or just looking to have some fun, drawing a Roblox character can be a rewarding experience.
In this step-by-step guide, we will walk you through the process of drawing a Roblox character from scratch. From the initial sketch to the final touches, we will provide helpful tips and tricks along the way. So grab your pencil, paper, and let’s get started!
Step 1: Gather Your Materials
Before diving into the drawing process, it’s important to gather all the materials you need. You will need a pencil, eraser, drawing paper, and any colored pencils or markers you want to use to bring your drawing to life. Make sure you have a comfortable workspace and good lighting to help you see your drawing clearly.
Step 2: Start with Basic Shapes
Begin by sketching the basic shapes that will serve as the foundation for your Roblox character. Start with a large oval for the head, an elongated rectangle for the body, and smaller ovals for the hands and feet. Use light, loose strokes to create these shapes, as you will be refining them later.
Tip: Use a reference image or a Roblox character template to help you get the proportions right.
Step 3: Refine the Shapes and Add Details
Once you’re happy with the basic shapes, start adding more details to your Roblox character. Use the guidelines you created in the previous step to help you draw the facial features, clothing, and accessories. Take your time and pay close attention to the details to make your character more recognizable.
Tip: Use light, short strokes and build up the details gradually to avoid making mistakes.
Step 4: Add Shadows and Highlights
To give your drawing depth and dimension, add shadows and highlights to your Roblox character. Study the lighting in your reference image and shade the areas that would be darker, such as under the chin and inside the clothing folds. Use your eraser to create highlights by removing some of the graphite.
Tip: Experiment with different shading techniques to find what works best for you.
Step 5: Final Touches and Coloring
Once you’re satisfied with your drawing, it’s time to add any final touches and start coloring. Use colored pencils or markers to bring your Roblox character to life. Pay attention to the colors and patterns in your reference image and use them as a guide.
Tip: Start with light colors and gradually build up the intensity to avoid making mistakes.
With these steps, you can create your own unique Roblox character drawing. Remember to practice and have fun along the way. Happy drawing!
If you’re a Roblox fan and want to learn how to draw your favorite Roblox characters, you’ve come to the right place! In this step-by-step guide, we will walk you through the process of drawing a Roblox character from scratch. Whether you’re a beginner or have some experience with drawing, this guide will help you create your own unique Roblox character.
Before you start drawing, make sure you have all the necessary materials. These include paper, pencils, erasers, and coloring tools such as colored pencils or markers. Having a reference image of the Roblox character you want to draw is also helpful.
Begin by drawing the basic shapes that make up the Roblox character. This can include circles for the head and body, rectangles for the arms and legs, and ovals for the hands and feet. Don’t worry about making it perfect at this stage; these shapes will serve as a guideline for your drawing.
Once you have the basic shapes in place, start adding the details that give your Roblox character its distinctive features. This can include facial features like eyes, eyebrows, and mouth, as well as accessories like hats or clothing. Take your time and be patient with this step, as it will bring your character to life.
After adding the initial details, refine your drawing by cleaning up the lines and making any necessary adjustments. Erase any unnecessary lines and make sure the proportions of your character are correct. This is also a good time to add shading or highlights to give your drawing more depth and dimension.
Once you’re happy with the pencil drawing, it’s time to bring your Roblox character to life with color. Use your colored pencils or markers to add vibrant colors to your drawing. Look at the reference image or be creative and come up with your own color scheme.
Finally, add any final touches to your drawing to make it stand out. This can include adding texture or patterns to clothing, adding highlights to the hair or eyes, or even adding a background to complete the scene. Don’t be afraid to experiment and make your drawing unique.
Read Also: Does Atomic Heart have multiple endings? | All you need to know
Remember, drawing is a skill that takes practice. The more you draw, the better you’ll get. Don’t be discouraged if your first few attempts don’t turn out exactly as you imagined. Keep practicing and experimenting with different techniques and styles. Soon, you’ll be able to draw any Roblox character with ease!
So grab your drawing materials and get started on your Roblox character drawing journey. Have fun and let your creativity soar!
Before you begin drawing a Roblox character, you will need a few materials and some preparation to ensure a smooth drawing process. Here are the things you will need:
Materials:
Read Also: Learn how to obtain the Rengoku sword in Blox Fruits
Before you start drawing, make sure you have a comfortable workspace with proper lighting. It’s also helpful to have a reference image of a Roblox character that you want to draw, either printed out or on a screen.
Once you have gathered your materials and set up your workspace, you can start the drawing process. The next step is to choose a pose for your Roblox character and sketch out the basic shapes and proportions. This will serve as a guideline for the rest of your drawing.
Remember to start with light, loose lines and gradually add more details as you go. Don’t worry about making mistakes, as you can always erase and make adjustments along the way.
After you have sketched out the basic shapes, you can start refining the details and adding more intricate features to your character. Pay attention to the details of the face, body, and clothing to capture the essence of a Roblox character.
Once you are satisfied with your pencil drawing, you can use a pen or marker to outline the final lines and add more definition to your artwork.
If you want to add color to your drawing, you can use colored pencils, markers, or any other coloring materials of your choice.
Finally, don’t forget to sign your artwork and take a moment to appreciate your creation. Drawing a Roblox character can be a fun and rewarding experience, so enjoy the process and let your creativity shine!
When drawing a Roblox character, it is important to start with the basic shape before adding any details. This will serve as a guide for the rest of the drawing process. Follow these steps to create the basic shape:
Once you have finished creating the basic shape, you can move on to adding more details and refining the drawing. This guide will provide a solid foundation for the rest of the drawing process.
To make your Roblox character truly unique, you can add details and personalize its appearance. Here are a few tips to help you get started:
Roblox offers a wide range of clothing and accessories that you can use to customize your character’s outfit. Browse the Roblox Catalog for different clothing options, such as shirts, pants, hats, and shoes. You can also add accessories like glasses, headphones, or backpacks to give your character more personality.
Roblox has a variety of hair and face options to choose from. You can select different hairstyles, hair colors, and facial features like eyes, eyebrows, and mouth shapes. Experiment with different combinations to find the perfect look for your character.
Animation packs are a great way to add unique movements and gestures to your Roblox character. They can make your character stand out and add personality to its actions. Explore the Roblox Avatar Shop for different animation packs and choose the ones that best fit your character’s style.
In addition to customizing your character’s appearance, you can also personalize the environment in which your character exists. Roblox offers a wide range of in-game items and accessories that you can use to create your own unique space. Decorate your Roblox world with furniture, plants, and other decorative items to make it feel like home.
Roblox allows you to add emotes and expressions to your character, which can enhance its personality and make it more interactive. Use the emote feature to make your character dance, wave, or perform other actions. You can also use facial expressions to convey different emotions, such as happiness, sadness, or anger.
Remember, the key to personalizing your Roblox character is to let your imagination run wild. Experiment with different combinations of clothing, accessories, hairstyles, and animations to create a character that reflects your unique style and personality.
You will need a pencil, eraser, paper, and colored pencils or markers to complete this drawing tutorial.
Yes, you can use a pen instead of a pencil, but keep in mind that you won’t be able to erase any mistakes.
No, this tutorial is designed for beginners and doesn’t require any prior drawing experience.
The length of time it takes to complete this drawing can vary depending on your skill level and the amount of detail you want to include in your drawing. On average, it can take anywhere from 30 minutes to an hour or longer.
Yes, you can use the steps outlined in this tutorial to draw a different Roblox character. Simply adjust the features and details to match the character of your choice.
No, it is not necessary to use colored pencils or markers. You can choose to leave your drawing in black and white or use any other coloring tools you prefer.
Yes, here are a few tips to make your drawing look more realistic: pay attention to proportions, shading, and highlighting, study and observe real-life objects for reference, practice and experiment with different techniques, and take your time to add small details.
Where to find the Level Up Token at Condo Canyon in Fortnite Welcome to our guide on finding the Level Up Token at Condo Canyon in Fortnite! Condo …
Read Article
How to play Miao Ying in Total War: Warhammer 3 – All quests and unique abilities Welcome to our comprehensive guide on playing the character Miao …
Read Article
How to find the clues for The Vellum in Assassin’s Creed Valhalla Welcome to our comprehensive guide on finding the clues for The Vellum quest in …
Read Article
The best moveset for Articuno in Pokémon Go Articuno, the legendary Ice and Flying type Pokémon, is a formidable force in Pokémon Go battles. With its …
Read Article
How to get the Stalwart Hero title in Overwatch 2 Overwatch 2 is the highly anticipated sequel to the popular team-based first-person shooter game. …
Read Article
How to make Margherita Pizza in Disney Dreamlight Valley Disney Dreamlight Valley is a magical place where dreams come true, and what better way to …
Read Article


