
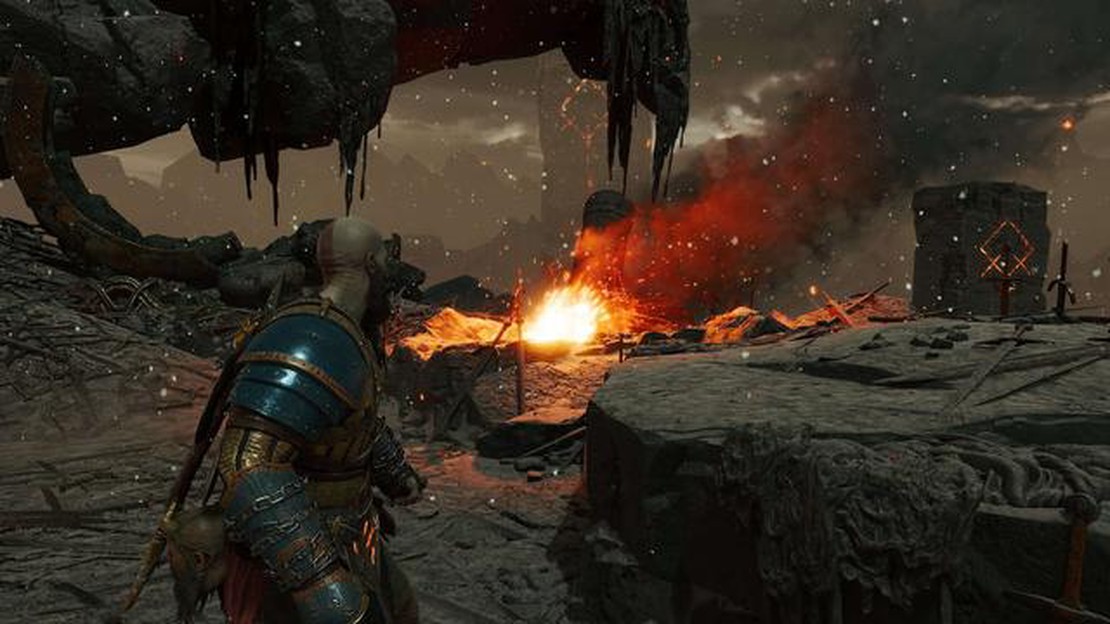

All Odin Raven locations in Muspelheim in God of War Ragnarok | Guide
All Odin Raven locations in Muspelheim in God of War Ragnarok In God of War Ragnarok, one of the collectibles that players can find and collect are …
Read Article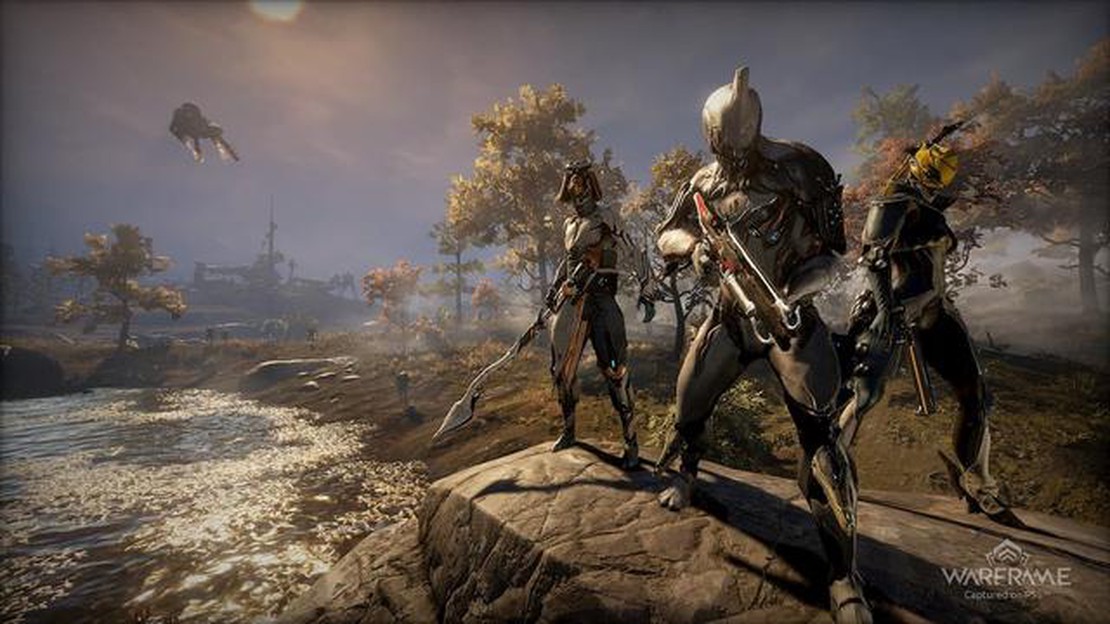
Warframe is a popular online action game that puts players in the role of a powerful warrior known as a Tenno. One of the many exciting features of Warframe is the ability to have a loyal companion known as a Kavat. Kavats are cat-like creatures that can assist players in battle with their unique abilities and provide valuable buffs. If you’re eager to obtain a Kavat and add it to your arsenal, this step-by-step guide will walk you through the process.
Step 1: Acquiring the Incubator Upgrade Segment
In order to start the process of obtaining a Kavat, you’ll need to have the Incubator Upgrade Segment installed in your Orbiter. This can be obtained by completing the Mars Junction on Earth. Once you have the segment, you can access the Incubator in your Orbiter and begin the Kavat incubation process.
Step 2: Collecting Genetic Code
Next, you’ll need to collect Genetic Code, which is essential for incubating a Kavat. Genetic Code can be obtained by scanning Feral Kavats found on the Orokin Derelict or through special Alerts and Invasions. It’s important to note that Genetic Code is a rare drop, so be prepared to spend some time farming for it.
Step 3: Incubating the Kavat
Once you have obtained enough Genetic Code, you can begin the incubation process. Access the Incubator in your Orbiter and select the Kavat Incubation option. You’ll need to choose the type of Kavat you want to incubate, as there are several different breeds available. Each breed has its own unique abilities and appearance, so choose wisely.
Step 4: Maintaining the Incubator
After starting the incubation process, it’s important to regularly maintain the Incubator to ensure the successful development of your Kavat. This involves visiting the Incubator and providing it with Nutrio, a special resource that helps the Kavat grow. Nutrio can be obtained from the Market or from Infested enemies in missions. Keep a close eye on the Incubator and provide it with Nutrio whenever necessary.
Step 5: Hatching and Bonding with your Kavat
Once the incubation period is complete, your Kavat will hatch and be ready to join you in battle. Take the time to bond with your new companion by interacting with it and providing it with attention and care. Your Kavat will become a loyal and powerful ally, assisting you in your missions and adding an extra level of depth to your Warframe experience.
With this step-by-step guide, you can obtain a Kavat and begin your journey with a loyal feline companion in Warframe. Enjoy the benefits and unique abilities that a Kavat brings to the table as you conquer the enemies that stand in your way. Happy hunting, Tenno!
Kavats are feline-like companions that can be obtained in the game Warframe. These creatures have unique abilities and can be a valuable asset to your team. To obtain a Kavat, you will need to complete several steps.
Following these steps will allow you to obtain a Kavat in Warframe. These companions can be a valuable asset in battle and provide unique benefits to your gameplay. Good luck in your Kavat breeding endeavors!
Obtaining a Kavat in Warframe can be a challenging task, but with this step-by-step guide, you’ll be able to acquire your own furry companion in no time.
Following this step-by-step guide, you should now have a Kavat as your loyal and furry companion in Warframe. Enjoy your new companion and take them on countless adventures across the Origin System!
The first step in obtaining a Kavat in Warframe is to find the Kavat Incubator Upgrade Segment. This segment is necessary in order to incubate and hatch your own Kavat.
To start the process, you will need to complete the Howl of the Kubrow quest, which is available from the market console on your ship. This quest will introduce you to the concept of breeding and hatching Kubrows, which are another type of companions in Warframe.
After completing the Howl of the Kubrow quest, you will need to obtain the Kavat Incubator Upgrade Segment. You can do this by either buying it from the market console for 175,000 credits or by obtaining it as a possible reward from specific missions or other in-game activities.
Read Also: RGB Fan Not Lighting Up? Here’s What to Check
Once you have obtained the Kavat Incubator Upgrade Segment, you will need to install it on your ship in order to start incubating your Kavat. To do this, follow these steps:
After installing the Kavat Incubator Upgrade Segment, you will be able to access the new Kavat Segment in your ship’s Navigation console. From there, you can select missions on the Derelict, an infested ship, where you can find the Kavat genetic codes needed to breed and incubate your own Kavat.
It’s important to note that the Kavat Incubator Upgrade Segment is a one-time purchase, meaning you won’t need to buy it again if you decide to breed and hatch multiple Kavats.
With the Kavat Incubator Upgrade Segment installed and the necessary genetic codes in hand, you are now ready to start the process of breeding and incubating your own Kavat in Warframe.
Read Also: Pokemon Go: Unlock a Super Rocket Radar for August 2023
In order to obtain a Kavat in Warframe, you must first complete the Once Awake Quest. This quest becomes available after you have completed the first four main storyline quests: Vor’s Prize, Once Awake, The Archwing, and Stolen Dreams.
To begin the Once Awake Quest, you will need to visit your ship’s Codex console and select the Quests tab. From there, you can select the Once Awake Quest and choose to start it. This quest will take you through a series of missions where you will face off against Grineer enemies and learn more about the game’s lore.
Once you have completed the Once Awake Quest, you will receive a blueprint for the Incubator Upgrade Segment. This segment is necessary for incubating and hatching a Kavat egg.
After obtaining the Incubator Upgrade Segment, you will need to build it in your Foundry. Once it is built, you can install it on your ship and access the Incubator menu. In this menu, you can begin the Kavat Incubation process by selecting the “Start Incubation” option.
During the incubation process, you will need to obtain a Kavat Genetic Code. These genetic codes can be obtained by scanning Feral Kavats that can be found in certain missions or by purchasing them from the Market using Platinum.
Once you have acquired a Kavat Genetic Code, you can use it to begin the Kavat incubation process. The incubation will take a few days, so be patient. Once the incubation is complete, you will have a fully grown Kavat that you can equip and use in missions.
It should be noted that the Once Awake Quest and the Kavat incubation process are only available to players who have completed certain prerequisites and have progressed far enough in the game’s story. Therefore, if you are a new player, make sure to focus on completing the main storyline quests first before attempting to obtain a Kavat.
Once you have acquired a Genetic Code Template, you will need to purchase the Kavat Incubator Upgrade Segment from the Market. This segment is required to unlock the ability to breed and hatch Kavats.
To purchase the Kavat Incubator Upgrade Segment, follow these steps:
Once you have successfully purchased the Kavat Incubator Upgrade Segment, it will be added to your inventory. You can then install it in your Landing Craft’s Incubator Segment slot to enable Kavat breeding and hatching.
It’s important to note that the Kavat Incubator Upgrade Segment can only be used if you have already completed the “Howl of the Kubrow” quest, which unlocks the Incubator Segment for your Landing Craft.
A Kavat is a type of companion in the game Warframe. It is a species of feline-like creatures that can be bred and customized by players.
To obtain a Kavat in Warframe, you first need to acquire the Kavat Incubator Upgrade Segment. This can be obtained by completing the mission “Howl of the Kubrow” on Earth. Once you have the segment, you can start incubating and hatching Kavat eggs.
Kavat genes can be found by scanning Feral Kavats, which are wild Kavats that can be encountered on the Orokin Derelict tileset. You can equip a Codex Scanner and scan them to obtain genetic codes, which are used for genetic manipulation in the incubator.
There are several types of Kavats in Warframe, each with their own unique abilities and appearances. Some of the types include Adarza Kavat, Smeeta Kavat, and Vasca Kavat.
The incubation period for a Kavat in Warframe is 72 hours. However, this can be reduced to 24 hours if you have a Kavat Incubator Upgrade Segment installed in your Orbiter.
Yes, you can customize the appearance of your Kavat in Warframe. There are various options for changing its colors, patterns, and attachments.
Some tips for breeding and raising Kavats in Warframe include: scanning as many Feral Kavats as possible to obtain genetic codes, using an Incubator Power Core to decrease the incubation time, and regularly interacting with your Kavat to increase its loyalty and effectiveness in combat.
All Odin Raven locations in Muspelheim in God of War Ragnarok In God of War Ragnarok, one of the collectibles that players can find and collect are …
Read Article
NBA 2K23: All fashion trivia answers for Yolanda & Sabine in The City Are you a fashion enthusiast in NBA 2K23’s The City? Look no further, because …
Read Article
How to control pests at Dolly Sods in Fallout 76 Dolly Sods in Fallout 76 is a location filled with various pests that can hinder your progress and …
Read Article
Why is Call of Duty: Warzone 2.0 locked? Troubleshooting guide Call of Duty: Warzone 2.0 has become incredibly popular among gamers worldwide, …
Read Article
How do summoning pools work in Elden Ring Elden Ring, the highly anticipated action role-playing game developed by FromSoftware and published by …
Read Article
How to get Cranial Foremount in Warframe Warframe is an action-packed online game that takes place in a futuristic universe. In this game, players …
Read Article


