


Mastering Heists in Teamfight Tactics (TFT) Set 8: A Comprehensive Guide
How do Heists work in Teamfight Tactics (TFT) Set 8? Teamfight Tactics (TFT) Set 8: Heists is the latest update to the popular auto-battler game mode …
Read Article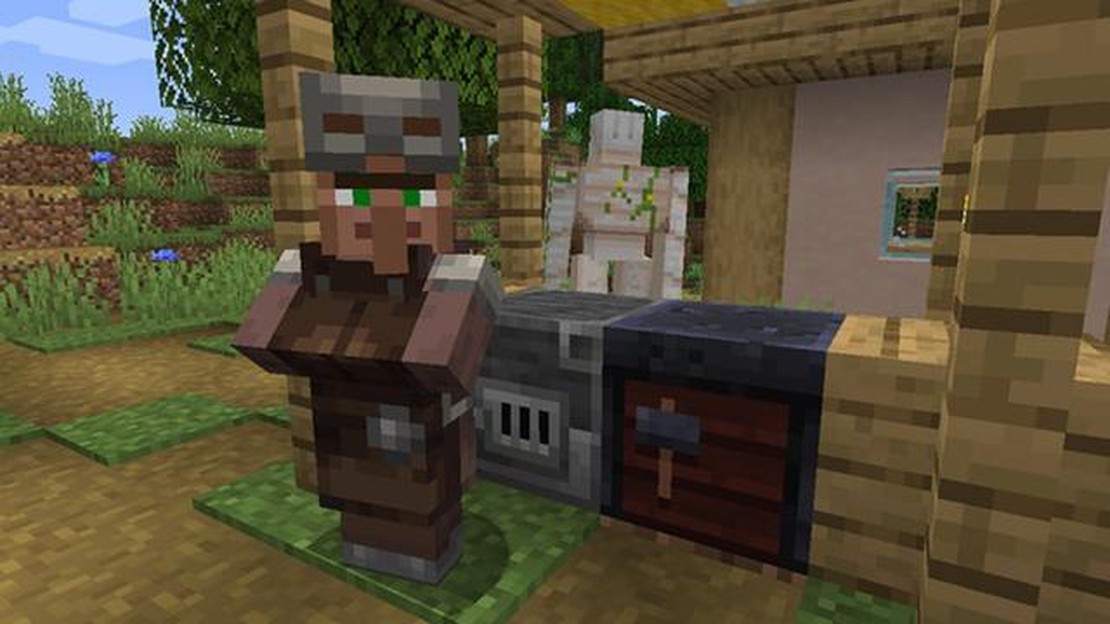
Villagers play a crucial role in the world of Minecraft, providing players with various resources and services. However, their job assignments are not fixed, and players have the ability to change their jobs according to their needs. In this step-by-step guide, we will explore how to change villager jobs in Minecraft.
Step 1: Locate a Villager
The first step in changing a villager’s job is to find one. Villagers can be found in villages or can be created using a spawn egg or a spawn command. Once you have located a villager, you can proceed to the next step.
Step 2: Break and Replace the Workstation
Each villager has a specific job associated with a workstation. To change a villager’s job, you need to break the current workstation they are assigned to and replace it with a different one. For example, if you want a librarian, break the lectern they are using and replace it with a different workstation, such as a brewing stand for an alchemist.
Step 3: Wait for the Villager to Notice the New Workstation
After you have placed the new workstation, you need to wait for the villager to notice it and acknowledge the change. This can take some time, so be patient. Eventually, the villager will approach the new workstation and become associated with the corresponding job.
Step 4: Trade with the Villager
Once the villager has taken on the new job, you can interact with them to access their trades and services. Different jobs offer different trades, so experiment with different workstations to find the desired job and trades that suit your needs.
Remember, not all villager professions are available in every village, so you may need to explore multiple villages or create new ones to find the specific job you are looking for. However, with some patience and experimentation, you can change villager jobs to create a thriving Minecraft community that caters to your needs.
In Minecraft, villagers are non-player characters that you can interact with and trade items. They can be found in villages, which are generated naturally in the game world. Here’s a step-by-step guide on how to find villagers in Minecraft:
Tips:
By following these steps, you should be able to find villagers in Minecraft and interact with them for trading and other activities.
Exploring villages in Minecraft can be a fun and rewarding experience. Villages are generated structures in the game where players can interact with villagers, trade items, and even recruit them to join their own community. Here are some tips and tricks for exploring villages:
Remember, exploring villages can be a fun and dynamic experience in Minecraft. Each village is unique, and you never know what treasures or surprises you might come across. So grab your gear and go on an adventure to discover and interact with the villagers in Minecraft!
In Minecraft, players can cure zombie villagers and turn them back into regular villagers. Here’s a step-by-step guide on how to do it:
Once you’ve successfully cured a zombie villager, you can assign them a job by placing a work station block near them, such as a lectern for a librarian or a brewing stand for an alchemist. This will allow them to gain a specific profession and offer you different trades.
In Minecraft, villagers have different professions that determine their behaviors and the type of trades they offer. Understanding these professions can help you manage and utilize your villagers more effectively.
Read Also: All Laver resource locations in Tower of Fantasy
1. Farmer: Farmers specialize in growing and harvesting crops. They can be identified by their brown robes and straw hats. Farmers offer trades related to farming, such as selling crops and buying seeds.
2. Librarian: Librarians are knowledgeable villagers who offer enchanted books and other written materials. They wear white robes and glasses. Librarians also buy paper and emeralds.
3. Cleric: Clerics are religious villagers who wear purple robes. They trade in various magical and mystical items, including potions and enchanted items. They buy and sell items related to brewing and enchanting.
4. Blacksmith: Blacksmiths are skilled craftsmen who wear black aprons. They offer trades related to weapons, armor, and tools. You can buy various types of equipment from them.
Read Also: Who is the voice actor for Arataki Itto in Genshin Impact?
5. Leatherworker: Leatherworkers specialize in working with leather and can be identified by their brown aprons. They sell leather armor and other leather-related items.
6. Butcher: Butchers are villagers who deal with meat and animal-related products. They wear white aprons and offer trades related to meat, such as selling raw meat or buying coal.
7. Shepherd: Shepherds are villagers who take care of sheep and wool-related trades. They can be recognized by their brown aprons and they sell wool and related items.
8. Nitwit: Nitwits are villagers without any specific profession. They don’t offer any trades and are generally considered to be less useful than other villagers.
It’s important to note that a villager’s profession can be changed by destroying and replacing their corresponding workstations. This can be beneficial if you want to change a villager’s profession to access different trades.
Understanding the different villager professions can be helpful when establishing a thriving village and utilizing the various trades available. Whether you need to trade for valuable items or establish a self-sustaining farming community, managing your villagers’ professions is an essential aspect of Minecraft gameplay.
The Farmer is a villager job in Minecraft. Farmers are responsible for growing and harvesting crops, as well as breeding animals on the farm. They play an important role in providing food and resources for the player.
To change a villager’s job to a farmer, you need to follow these steps:
Once a villager becomes a farmer, they will start planting and harvesting crops, as well as breeding animals if there are any nearby. They will also trade food-related items with the player, such as wheat, carrots, potatoes, and bread.
Having farmers in your village is beneficial as they provide a consistent source of food and resources. They can also help you with your farming activities, making it easier to sustain yourself in the game.
Yes, you can change a villager’s job in Minecraft by giving them a different workstation corresponding to the desired profession.
In Minecraft, villagers can have various professions, such as farmer, librarian, cleric, armorer, butcher, cartographer, fisherman, fletcher, leatherworker, mason, shepherd, toolsmith, and weaponsmith.
To find a villager with a specific profession, you can either search for them in villages or convert an unemployed villager into the desired profession by placing the corresponding workstation nearby.
If a villager already has a profession, you can change their profession by breaking the workstation associated with their current job and placing a new workstation for the desired profession nearby. The villager will switch to the new profession when they have access to the workstation.
No, when a villager’s profession changes, their old trades will be replaced with new trades corresponding to the new profession. However, their level and experience will remain the same.
If a villager loses access to their workstation, they will become unemployed and may wander around. If you want to assign them a new profession, you will need to provide them with a different workstation nearby.
Yes, you can change a villager’s profession in Minecraft Bedrock Edition using the same methods as in Java Edition. The process is the same regardless of the edition you are playing.
How do Heists work in Teamfight Tactics (TFT) Set 8? Teamfight Tactics (TFT) Set 8: Heists is the latest update to the popular auto-battler game mode …
Read Article
How to evolve Petilil into Hisuian Lilligant in Pokémon Legends: Arceus Pokémon Legends: Arceus introduces a new region called Hisui, where players …
Read Article
How to complete The Gift of Appreciation in Destiny 2 Destiny 2 is a popular online multiplayer game that offers a unique gaming experience in a vast …
Read Article
How to get Burning Horns in Final Fantasy XIV Final Fantasy XIV is a popular online role-playing game that offers a vast world filled with countless …
Read Article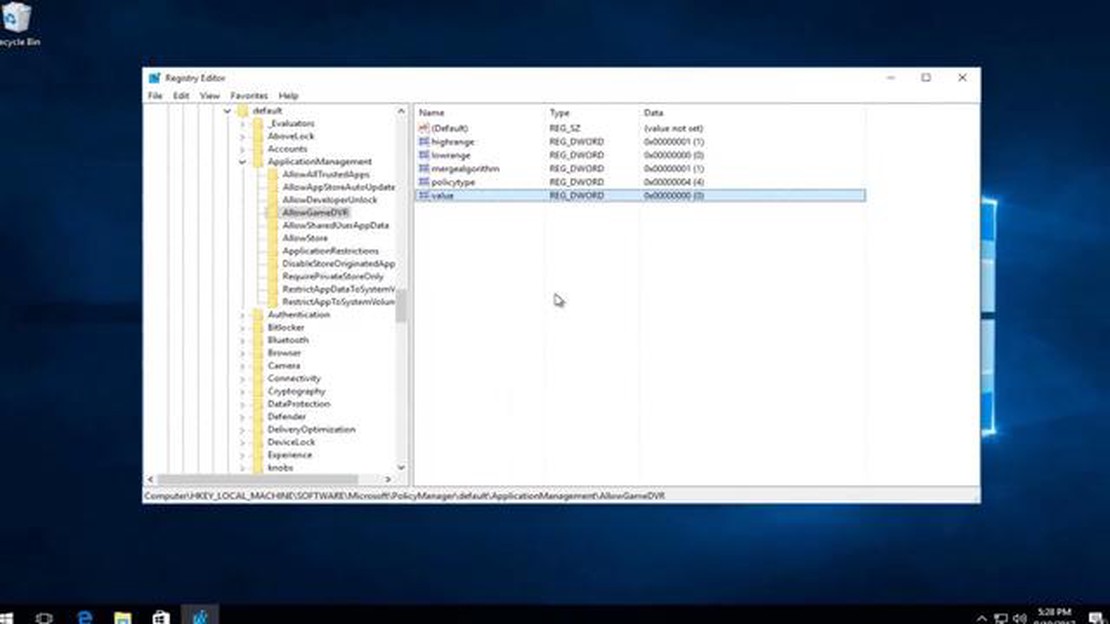
You’re getting low frames on a high-end gaming pc. here’s why So, you’ve invested in a high-end gaming PC, expecting buttery-smooth performance and …
Read Article
How to get and evolve the Clock Lancet in Vampire Survivors Welcome to our ultimate guide on how to obtain and evolve the Clock Lancet in the popular …
Read Article


