


Complete the From Outer Lands Quest - Genshin Impact Shipwreck Guide
From Outer Lands quest guide – Genshin Impact – wrecked ship quest Welcome to our guide on completing the From Outer Lands Quest in Genshin Impact! …
Read Article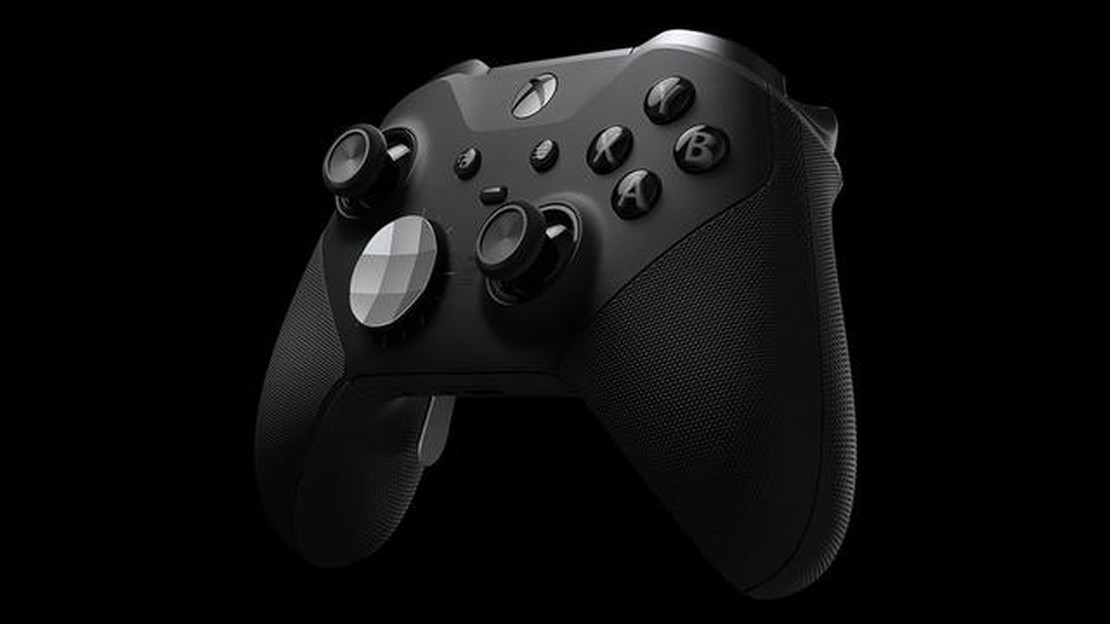
If you own an Xbox Elite Series 2 controller, you may be wondering how to change the color of the Xbox button. The Xbox button is a prominent feature on the controller, and changing its color can add a personalized touch to your gaming experience. Fortunately, changing the Xbox button color on an Elite Series 2 controller is a relatively simple process that can be done in just a few steps.
Before we dive into the step-by-step guide, it’s important to note that the ability to change the Xbox button color is exclusive to the Elite Series 2 controller. If you have a different Xbox controller model, you may not be able to change the button color.
To begin, make sure your Elite Series 2 controller is connected to your Xbox console or PC. Once your controller is connected, follow these steps to change the Xbox button color:
And that’s it! Your Xbox button color should now be changed to your chosen color. You can repeat these steps at any time to change the color of the Xbox button on your Elite Series 2 controller to match your mood or gaming setup.
Keep in mind that the color customization only applies to the Xbox button and not the other buttons or trim on the Elite Series 2 controller. However, the ability to change the Xbox button color adds a unique touch to your gaming experience and allows you to personalize your controller to your liking.
Disclaimer: The ability to change the Xbox button color is subject to firmware updates and may not be available on all versions of the Elite Series 2 controller.
If you own an Xbox Elite Series 2 controller, you have the option to change the color of the buttons for a personalized gaming experience. Changing the button color is a simple and straightforward process. Follow the step-by-step guide below to change the button color on your Xbox Elite Series 2 controller.
Now you can enjoy gaming with a personalized button color on your Xbox Elite Series 2 controller. Experiment with different colors to find your favorite look.
Read Also: Where to Find the Stench of the Dead in Hogwarts Legacy: A Complete Guide
To change the Xbox button color on an Elite Series 2 controller, you will need a few materials. Before you begin, make sure you have the following:
It’s important to note that the Elite Series 2 controller is designed to be customizable, allowing you to replace various parts, including the buttons. Make sure you have the necessary replacement button set that includes the color you want to change to.
Follow these steps to remove the faceplate of your Xbox Elite Series 2 controller:
Make sure to set the screws aside in a safe place so that you don’t lose them.
Read Also: Beginner’s Guide: How to Play the Digimon Trading Card Game (2020)
One of the customization options available for the Xbox Elite Series 2 controller is the ability to replace the stock buttons with colored buttons. This adds a personal touch to your controller and allows you to match the color scheme to your liking. Here is how you can replace the buttons:
Congratulations! You have successfully replaced the stock buttons with colored buttons on your Xbox Elite Series 2 controller. Enjoy your personalized gaming experience!
No, you can only change the Xbox button color on the Elite Series 2 controller.
No, you do not need any additional equipment. The Elite Series 2 controller comes with customizable button colors.
Yes, there are several color options available to change the Xbox button color on an Elite Series 2 controller. Some of the options include red, blue, green, and purple.
Yes, you can change the Xbox button color to match your gaming setup. The customizable button colors on the Elite Series 2 controller allow you to personalize the controller to your preferences.
From Outer Lands quest guide – Genshin Impact – wrecked ship quest Welcome to our guide on completing the From Outer Lands Quest in Genshin Impact! …
Read Article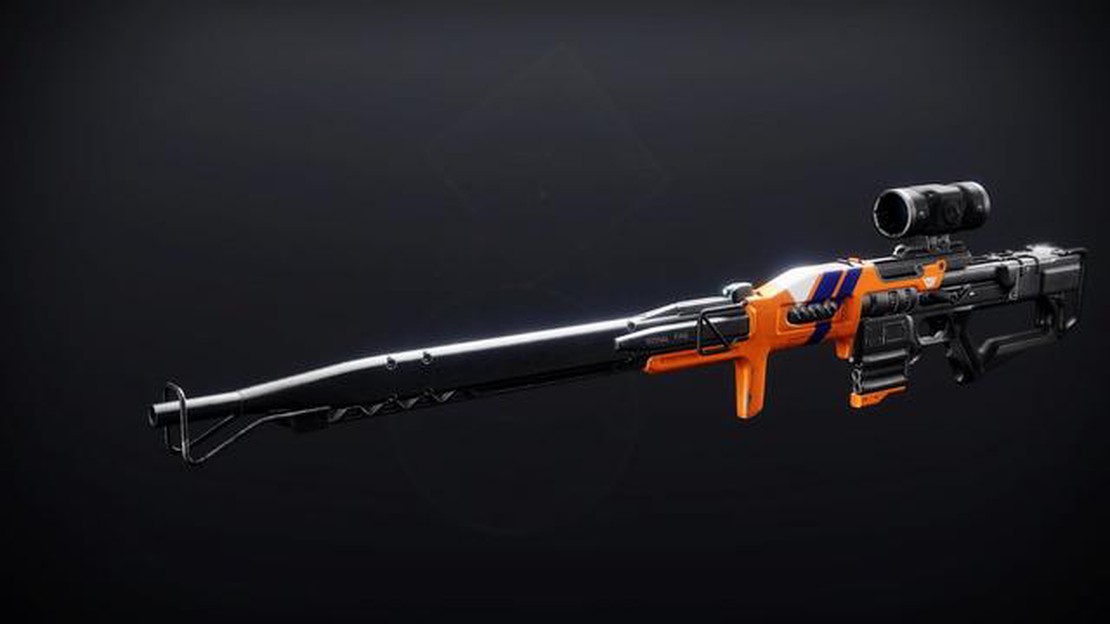
Destiny 2 1000 Yard Stare god roll guide – PvP and PvE The 1000 Yard Stare is a legendary sniper rifle in Destiny 2 that has become a fan favorite …
Read Article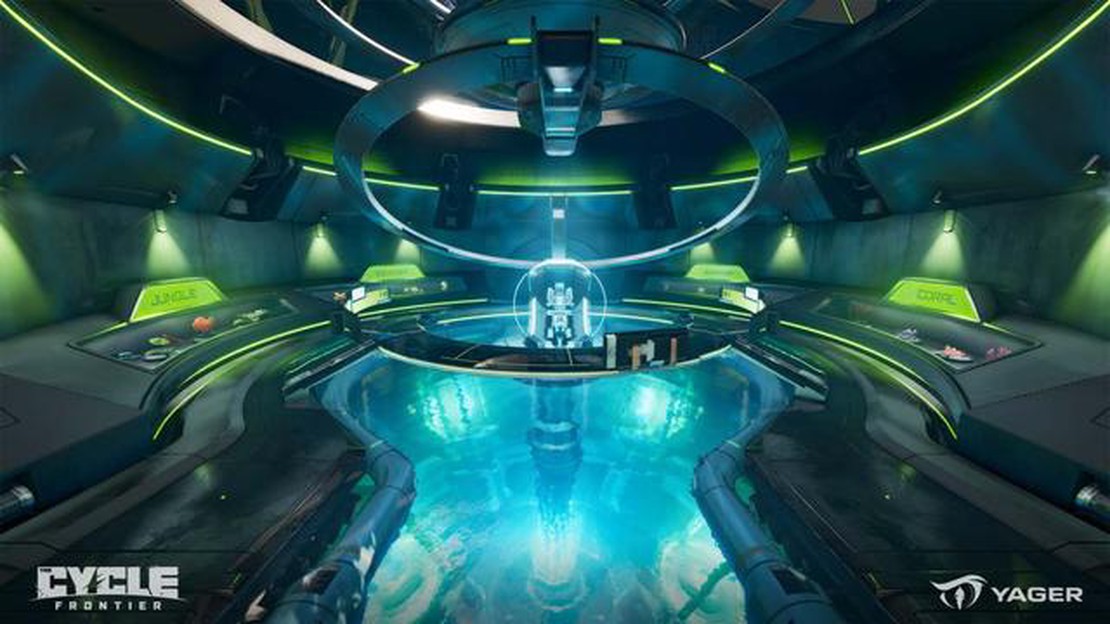
What platforms is The Cycle: Frontier on? The Cycle: Frontier, the popular online multiplayer game developed by YAGER, has gained a lot of attention …
Read Article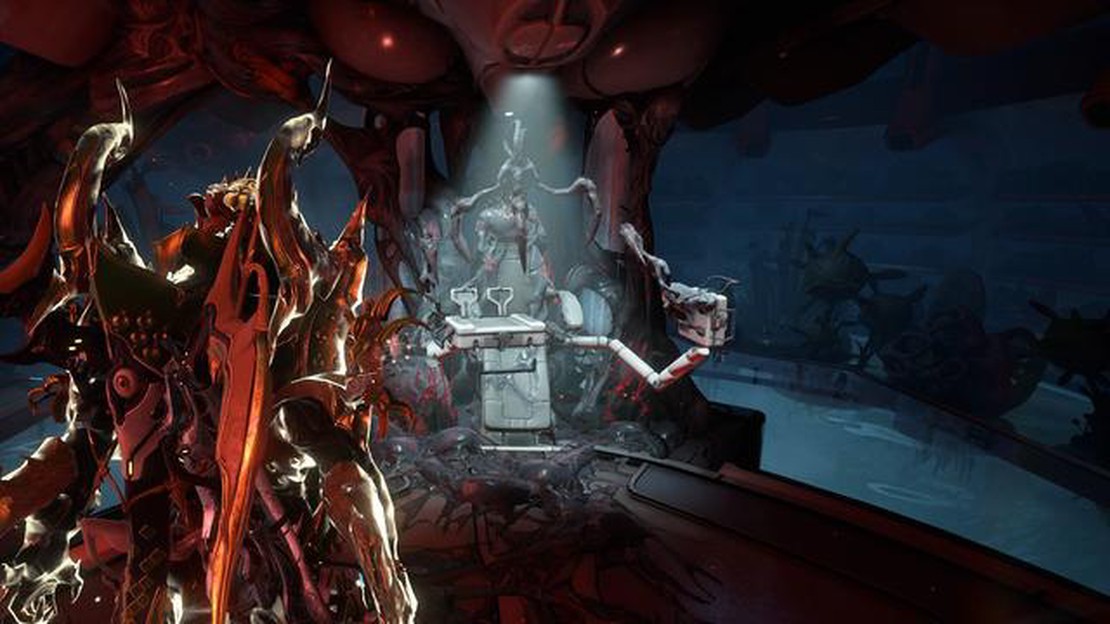
How to use the Helminth System in Warframe The Helminth System is a new and exciting addition to the world of Warframe, allowing players to customize …
Read Article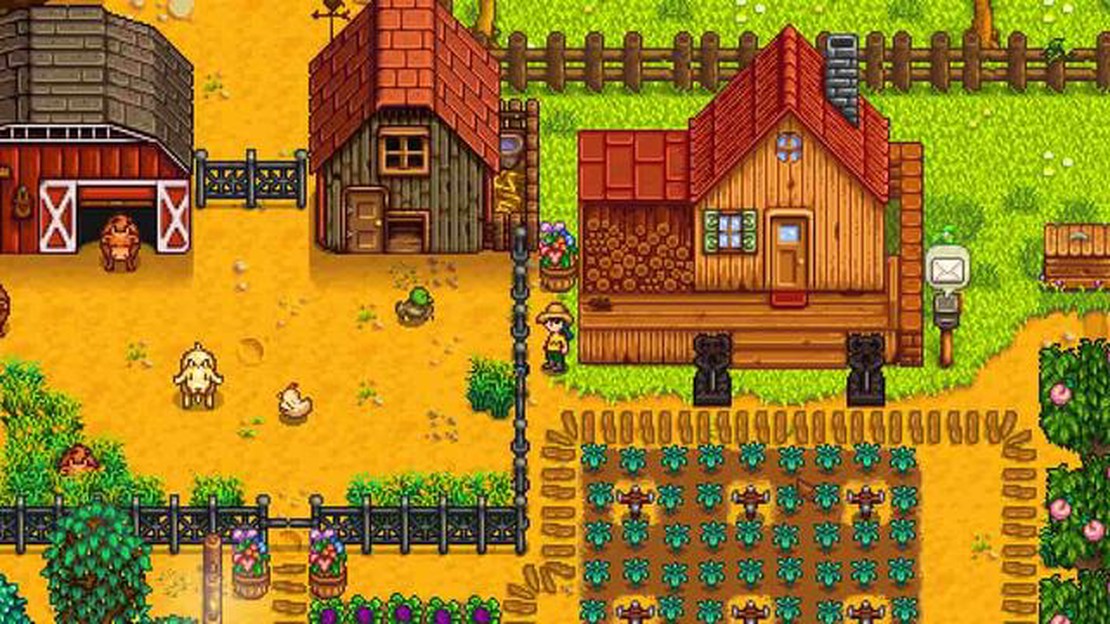
Stardew Valley: How to Get Blue Chickens Stardew Valley is a popular farming simulation game developed by ConcernedApe. In the game, players can …
Read Article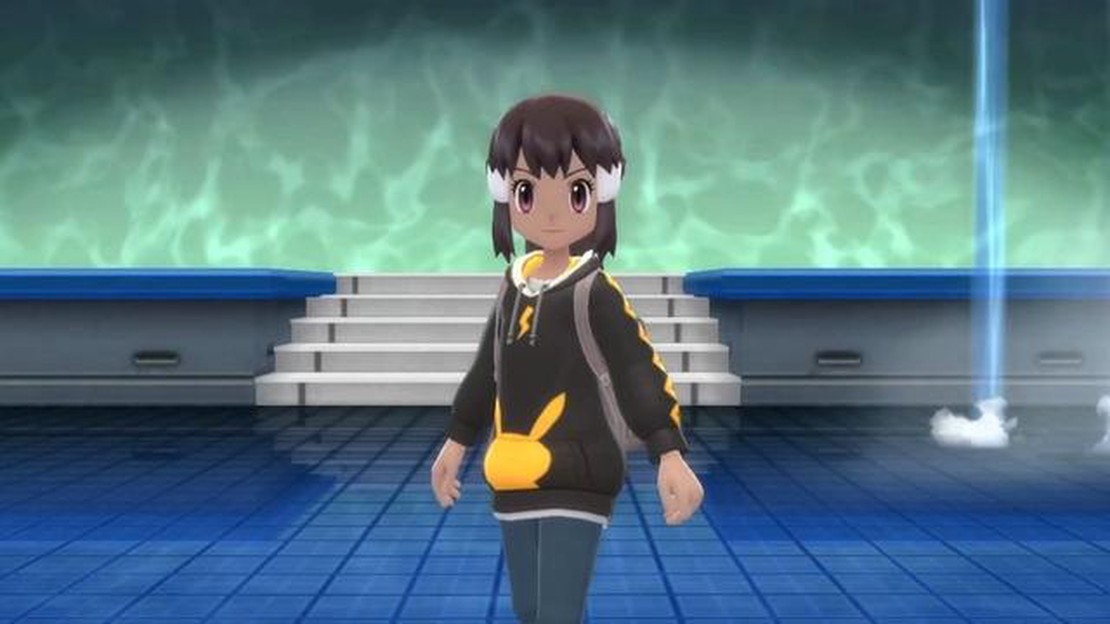
Where to buy Quick Balls in Pokemon Brilliant Diamond and Shining Pearl In Pokemon Brilliant Diamond and Shining Pearl, Quick Balls are an essential …
Read Article


