
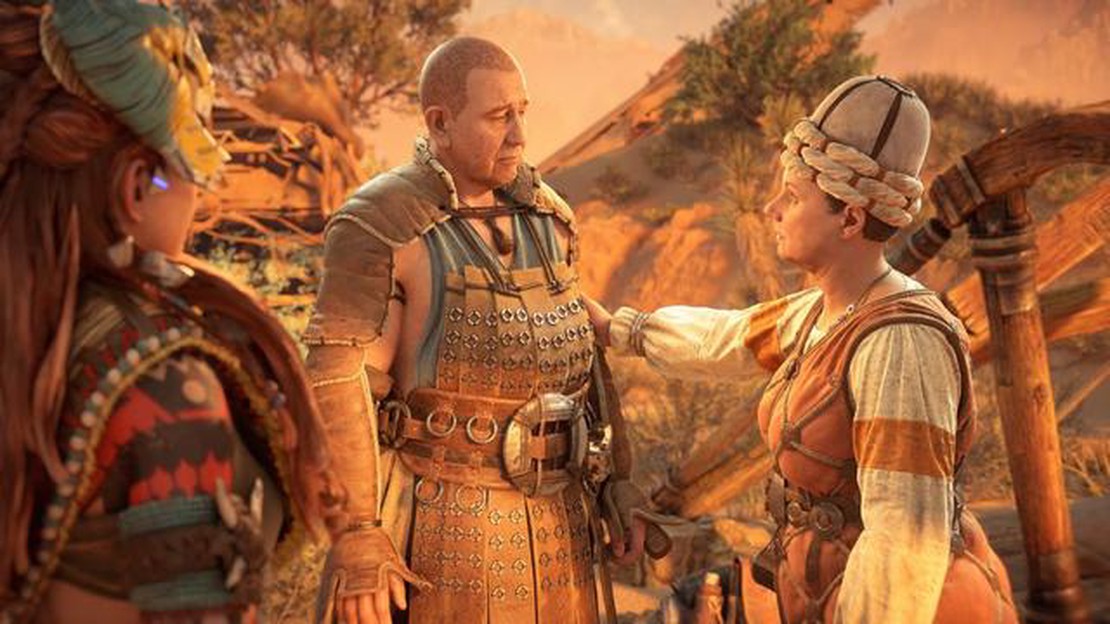

Complete the Rollerback Salvage Contract in Horizon Forbidden West: Step-by-Step Guide
How to complete the Rollerback Salvage contract in Horizon Forbidden West Are you struggling to complete the Rollerback Salvage Contract in Horizon …
Read Article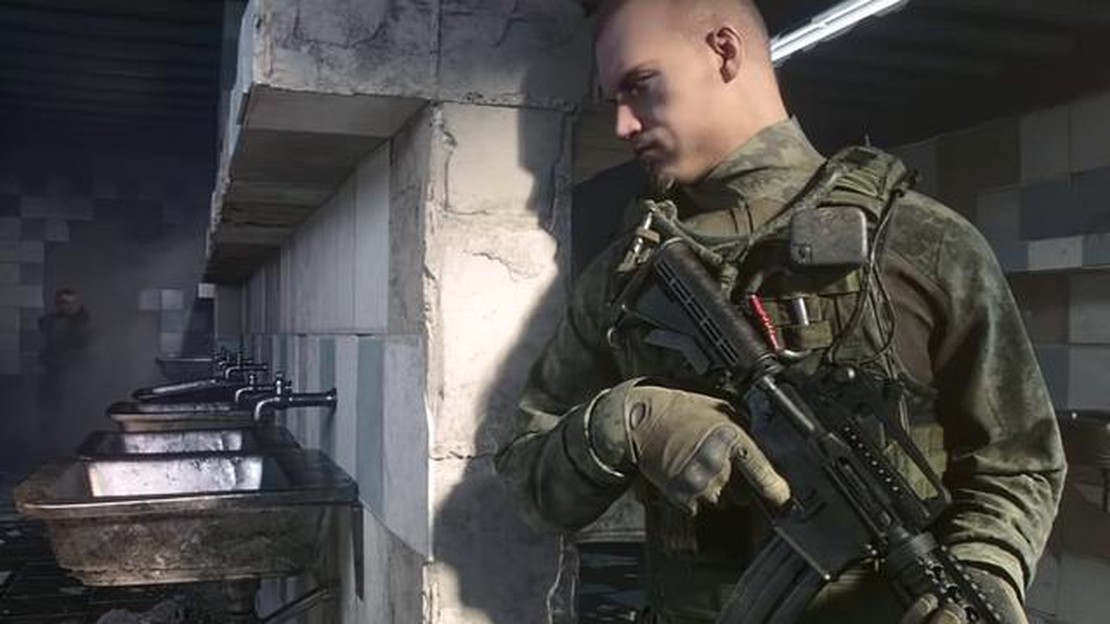
Escape from Tarkov is a highly challenging and realistic first-person shooter game that puts players in the midst of a war-torn city. As a PMC (Private Military Contractor), players must navigate dangerous environments, scavenge for resources, and engage in intense firefights. One key aspect of the game is the gunsmithing mechanic, which allows players to modify and customize their weapons to suit their playstyle.
Gunsmith Part 1 is the first part of a multi-part quest line that requires players to modify and upgrade specific firearms to meet certain criteria. Completing this quest can be quite challenging, especially for newer players. However, with the right tips and strategies, you can successfully complete Gunsmith Part 1 and earn valuable rewards.
To start off, it’s important to familiarize yourself with the requirements of Gunsmith Part 1. The quest requires you to modify an AKS-74U to meet specific criteria, such as a certain level of ergonomics, recoil, and modularity. It’s a good idea to carefully read the quest description and make note of the specific modifications you need to make.
Once you have a clear understanding of the quest requirements, it’s time to gather the necessary parts and tools. This may involve looting weapon attachments from raid locations or purchasing them from traders. Keep in mind that certain modifications may be more rare or expensive, so plan your resources accordingly.
Expert Tip: It’s a good idea to have a stash of spare weapon attachments and mods in your inventory. This way, you’ll have a constant supply of parts to use for gunsmithing quests like Gunsmith Part 1.
Gunsmith Part 1 is one of the challenging quests in Escape from Tarkov that requires players to modify a weapon according to specific requirements. Here are some expert tips to help you complete this quest:
Remember, completing Gunsmith Part 1 successfully takes patience, planning, and careful execution. Follow these expert tips, and you’ll be one step closer to completing this challenging quest in Escape from Tarkov.
Completing Gunsmith Part 1 in Escape from Tarkov requires a clear understanding of the mission requirements. In this mission, players are tasked with modifying a specific firearm according to the given specifications.
It is vital to carefully read the mission description and familiarize yourself with the specific modifications that need to be made. This will include information such as the specific weapon platform, attachments to be installed, and any other customization requirements.
Once you have a clear understanding of the modifications needed, you can start gathering the necessary weapons and equipment. It is important to note that some attachments may need to be purchased from vendors or found during raids.
Assembling the required modifications can be a challenging task, especially for newer players. It is recommended to use online resources, such as guides and video tutorials, to help you navigate the modifications and find the right attachments.
Read Also: Destiny 2 Ikelos_HC_V1.0.3 God Roll Guide – PvE and PvP | Best Perks and How to Obtain
Additionally, it is crucial to pay attention to the weapon’s compatibility with the attachments. Some attachments may only work with specific weapon platforms, so double-checking compatibility is essential to avoid wasting time and resources.
Once you have assembled all the required attachments, you can proceed to modify the weapon. This can be done through the “Modding” menu in the game, where you can equip and detach attachments as needed.
After successfully modifying the weapon according to the given specifications, make sure to verify that all the requirements have been met. It is common for players to overlook minor details, so double-checking is crucial to avoid unnecessary frustration.
Finally, it is important to note that Gunsmith Part 1 is just the beginning of a series of challenging gunsmith missions in Escape from Tarkov. Understanding the mission requirements and developing efficient strategies for modifications will be essential for future missions.
By thoroughly understanding the mission requirements, utilizing online resources, and carefully assembling the necessary attachments, players can successfully complete Gunsmith Part 1 and progress further in the game.
When it comes to navigating the treacherous streets of Tarkov, having a well-planned loadout can mean the difference between success and failure. Here are some tips for strategizing the perfect loadout:
Read Also: Understanding the Mechanics of the Gold Knockdown Shield in Apex Legends
Remember, there is no one-size-fits-all loadout strategy in Tarkov. Experiment with different gear setups and find what works best for you. With careful planning and a solid loadout, you’ll be well-equipped to tackle the challenges of the city.
When completing Gunsmith Part 1 in Escape from Tarkov, navigating the challenging locations can be a daunting task. Here are some expert tips to help you navigate these areas with ease:
Remember, navigating challenging locations requires patience, strategy, and teamwork. By following these expert tips, you’ll be better equipped to complete Gunsmith Part 1 in Escape from Tarkov.
Gunsmith Part 1 is a quest in Escape from Tarkov where players are required to modify a specific weapon according to a specific set of criteria.
Some expert tips for completing Gunsmith Part 1 include knowing the requirements of the quest, collecting the necessary items before starting the quest, and using online guides or videos for step-by-step instructions.
For Gunsmith Part 1, you need to modify an ADAR 2-15 .223 Carbine.
The specific modifications required for Gunsmith Part 1 include adding a Trijicon REAP-IR thermal scope, Recoil pad from Aim Sports for M4 stock, and 370mm barrel for AR-15 and compatible 5.56x45.
The required items for Gunsmith Part 1 can be found in various locations in the game, such as weapon crates, Scav’s backpacks, or looting them from other players.
No, Gunsmith Part 1 has specific requirements that must be met in order to complete the quest. There are no alternative methods for completion.
If you fail to complete Gunsmith Part 1, you will have to restart the quest from the beginning and collect all the necessary items again.
How to complete the Rollerback Salvage contract in Horizon Forbidden West Are you struggling to complete the Rollerback Salvage Contract in Horizon …
Read Article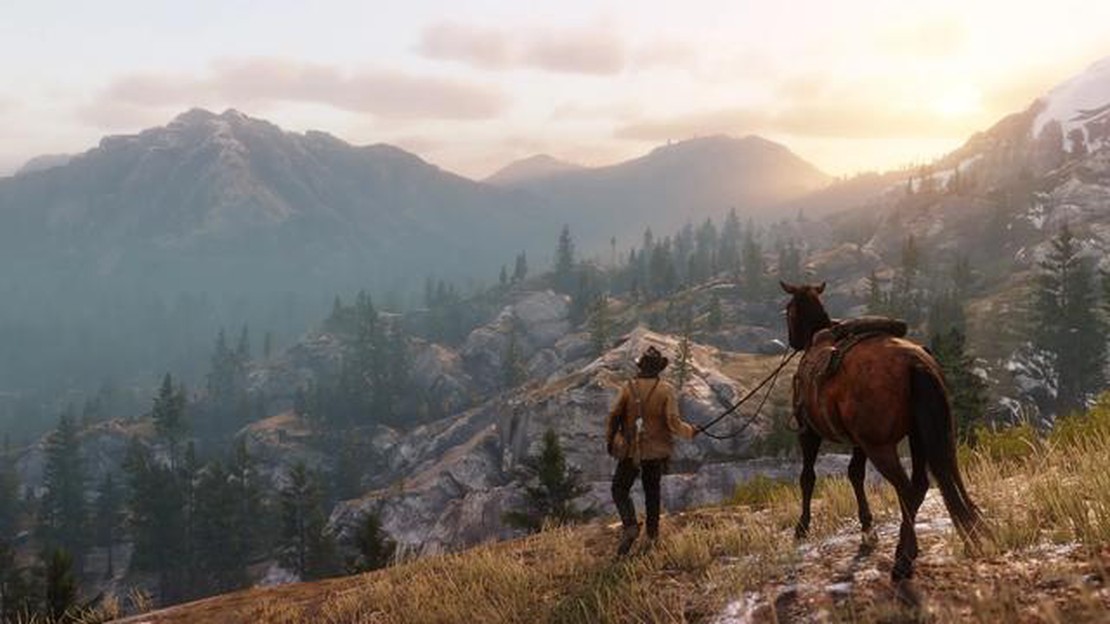
Parasol Mushroom Locations in Red Dead Redemption 2 Red Dead Redemption 2 offers players a vast and immersive open world to explore, filled with …
Read Article
How to tame a Tropical Crystal Wyvern in Ark: Survival Evolved Tame the majestic and powerful Tropical Crystal Wyvern in Ark: Survival Evolved with …
Read Article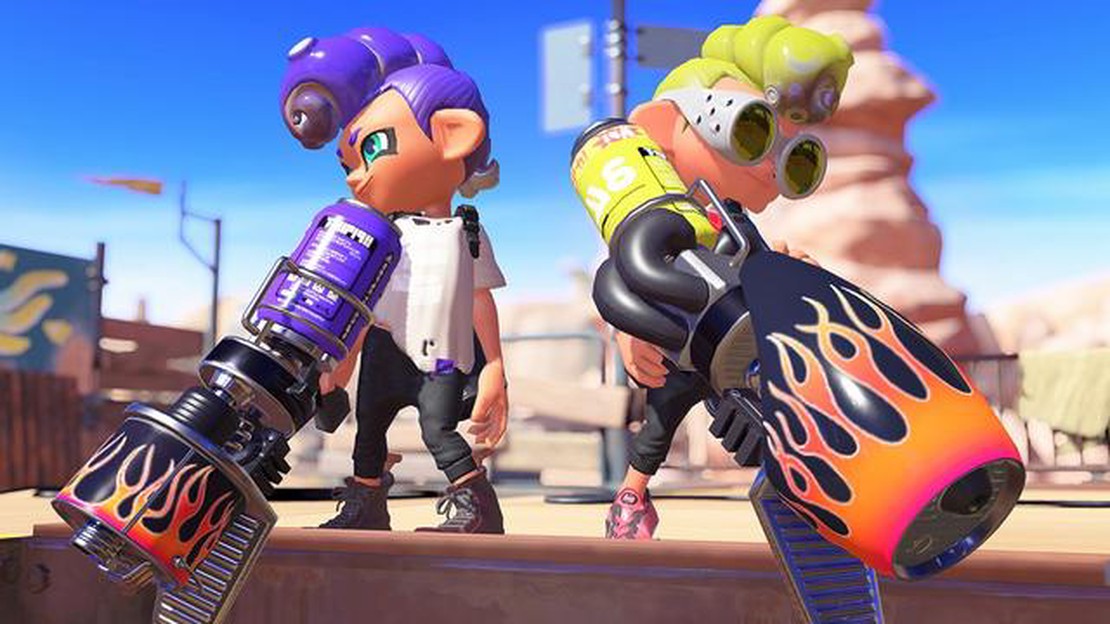
What Special Power Up does for each Special Weapon in Splatoon 3? In Splatoon 3, special weapons play a crucial role in turning the tide of battle. …
Read Article
Should you go Midday Form Lycanroc or Midnight Form Lycanroc in Pokémon Go? Pokémon Go offers players the opportunity to catch and train a wide …
Read Article
Is it still possible to obtain the 8-Ball vs. Scratch skin in Fortnite? The 8-Ball vs. Scratch skin was one of the most popular and sought-after skins …
Read Article


